How do I integrate Salesforce in my QR Code account?
...and automatically export contacts from my landing pages
You can use different integrations to connect your account with other systems like CRM- and marketing systems for you to be able to exchange data automatically.
This post contains technical details like generating API tokens. Please get in touch with an IT expert on your end to help you setting it up if you get stuck.
What is an integration?
Integration typically involves linking different software applications, services, or systems to enable smooth interaction and functionality.
For instance, integrating a customer relationship management (CRM) system with an email marketing platform allows customer data to sync automatically, enabling targeted email campaigns based on user activity.
How the Integration works with your account
An integration is based on a combination of a
- Trigger Event you want to react to. A trigger can be for example a new lead that submits his contact data on a Lead Form or a Digital Business Card
- Service that you want some action to be taken in e.g. Salesforce
- Use Case that you want to be performed in the service if the trigger event has happened e.g. create a new contact

How to integrate Salesforce with your account
1. Get a Salesforce Consumer Key and Secret
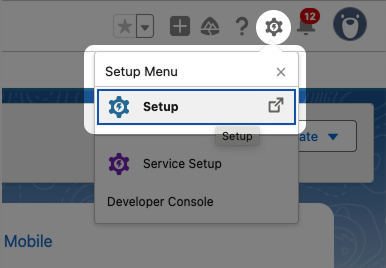
First, log into your Salesforce Account, click on the gear icon (top right corner of the page) and go to Setup.
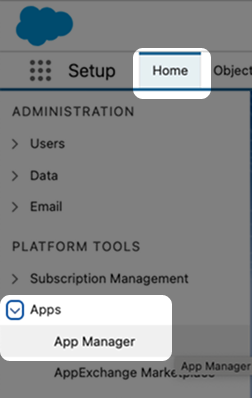
Click on Home > Apps > App Manager.
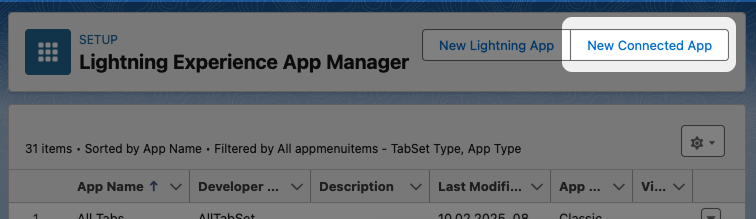
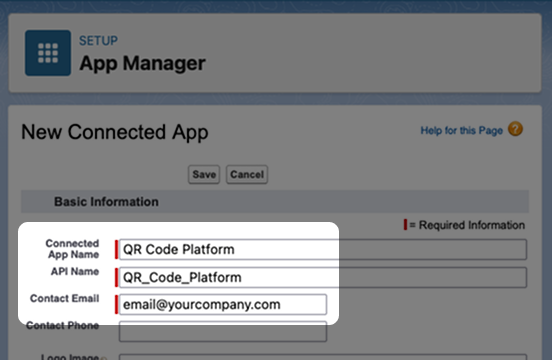
Click on the button New Connected App.
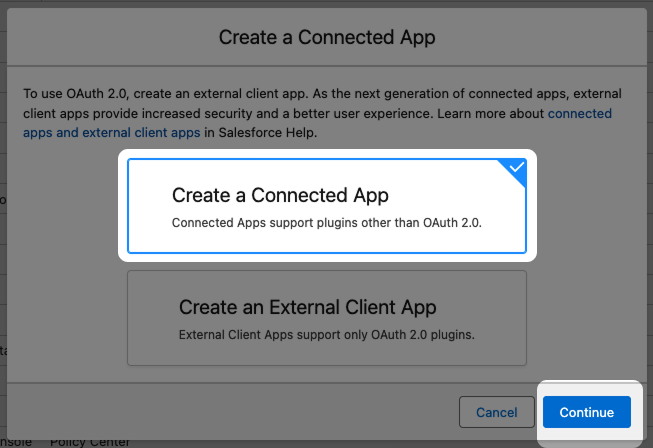
Choose Create a Connected App and click on Continue.
Enter a Connected App Name and Contact Email.
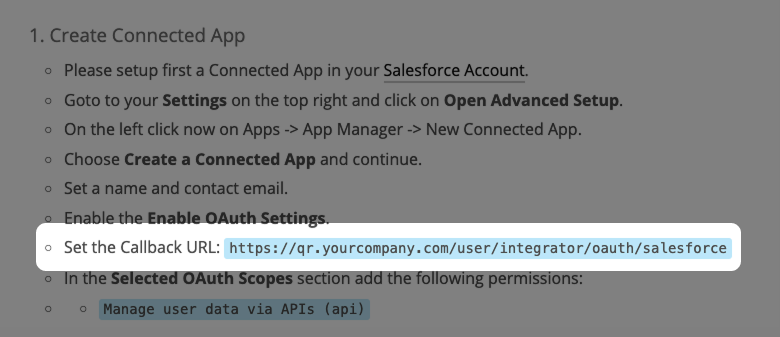
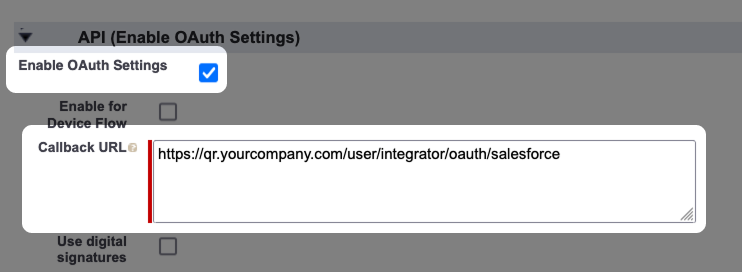
The next step in Salesforce will be to enter the Callback URL. This one is unique and based on your account name with our QR Code Platform. Lets figure it out!
2. Determine Callback URL in your account
Please log into your account on our QR Platform.
Login
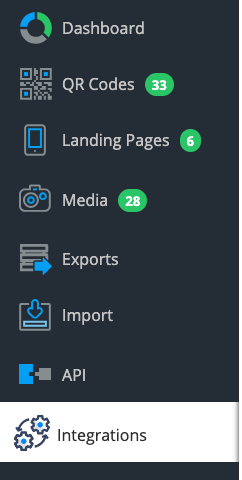
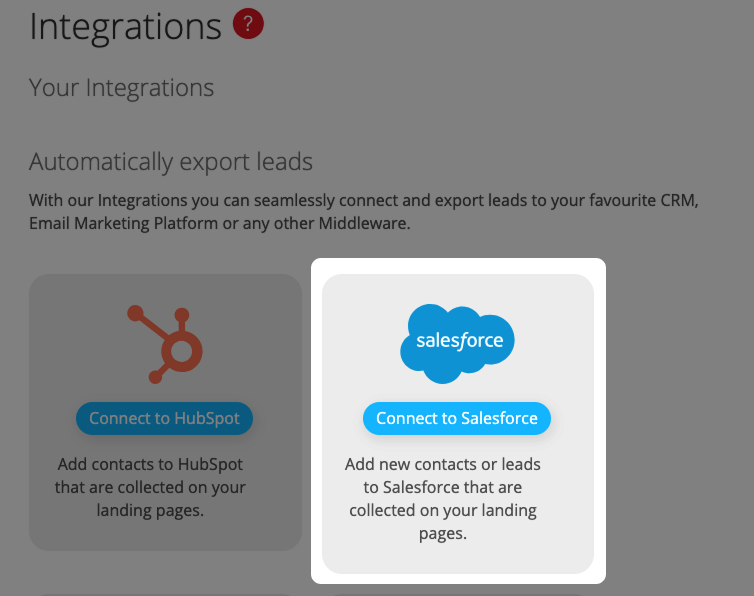
Click the button Connect to Salesforce.
Now scroll down until you see the Callback URL. Copy it.
3. Finish Salesforce configuration
Next, switch back to the tab where you have your Salesforce page open.
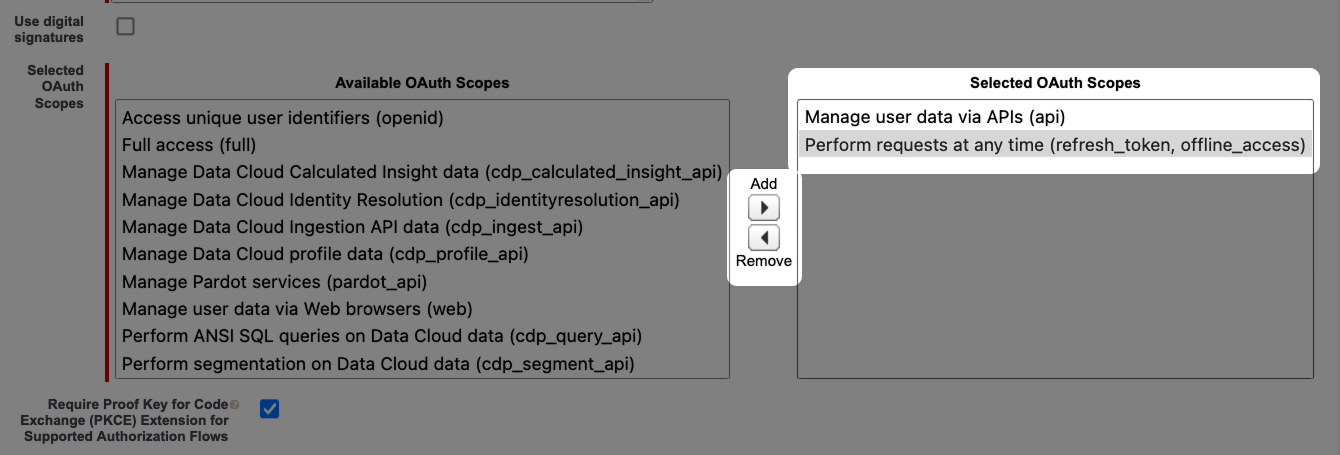
In the Selected OAuth Scopes section add the following permissions:
- Manage user data via APIs (api)
- Perform requests at any time (refresh_token, offline_access)
You can add the scopes by finding them on the Available OAuth Scopes list on the left and then by clicking on the > arrow right next to the list.
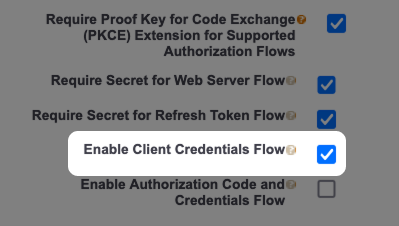
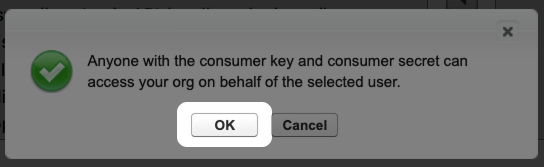
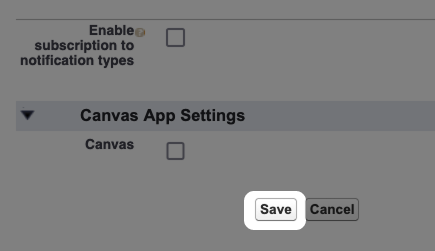
Activate the Enable Client Credentials Flow and confirm the popup.
Click on Save to finish the creation of the Connected App.
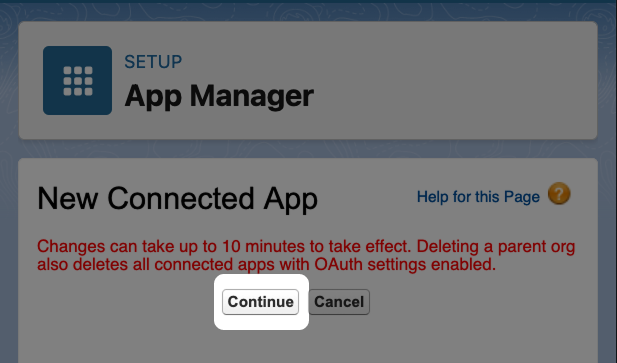
Confirm the creation of the Connected App by clicking on the Continue button.
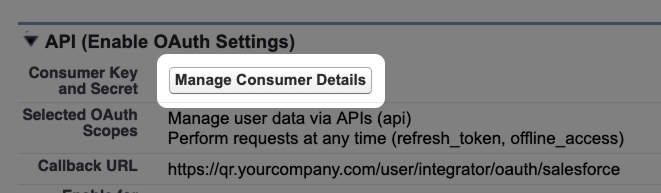
Click on Manage Consumer Details to get the Consumer Key and Consumer Secret. It is possible that you need to verify your identity via 2FA (2 factor authentication).
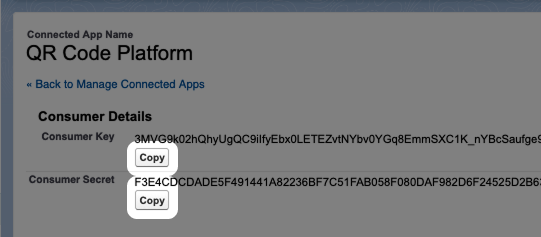
Copy the Consumer Key and paste it in Notepad (Windows) or TextEdit (Mac). Repeat for Consumer Secret. We will need them later.
That's it, we are now finished in Salesforce and ready to finish the configuration in your account!
Please notice that it can take 10 minutes until those Salesforce settings take effect.
Finish Integration Configuration in your account
Switch back to the browser tab where you copied the Callback URL before.
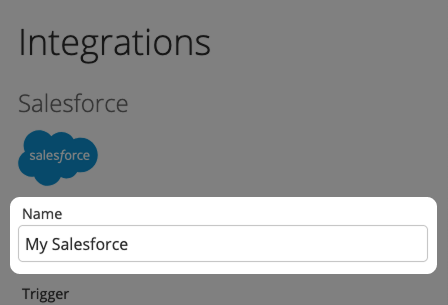
Now it is time to fill out the integration form. First, choose a Name that you want to use. This will be shown later in your list of integrations. So, pick something that makes sense for you to easily find it again.
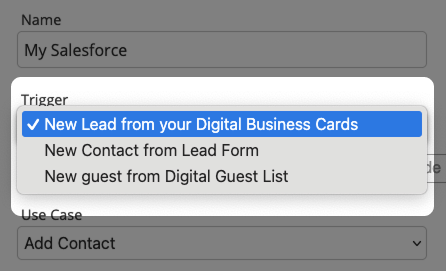
Choose a Trigger event you want to happen to start your integration. In our example we choose New Lead from your Digital Business Cards. This trigger is fired when a user exchanges his contact data on a Digital Business Card with the two-way contact sharing feature.
If you want you can filter the trigger, so the integration workflow is only executed on a set of chosen Business Cards.
This becomes handy when you want to connect one card to Salesforce and another card to a different service like HubSpot or to another Saleforce account.
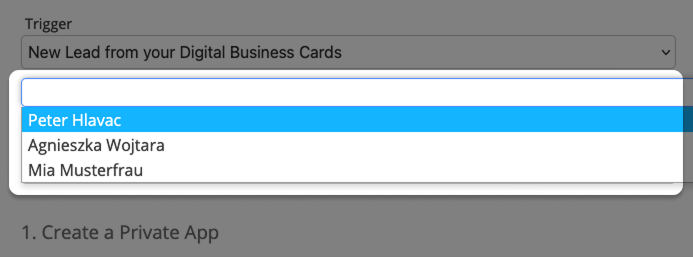
If you don't enter anything into the filter field, then the integration workflow is triggered on all Digital Business Cards.
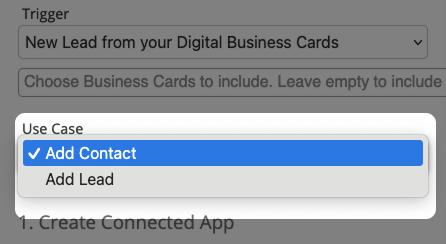
Next, we need to choose a Use Case. A Use Case specifies which action should be taken in Salesforce if the Trigger event has happened.
In our case we chose Add Contact. So every time a new lead from a Digital Business Card is being generated it gets added as a Contact in MailChimp.
Now enter the Consumer Key and Consumer Secret that you copied from Salesforce before into the form. You saved it in Notepad (Windows) or TextEdit (Mac). This ensures that our QR Code Platform can connect to Salesforce and perform the necessary Use Cases.
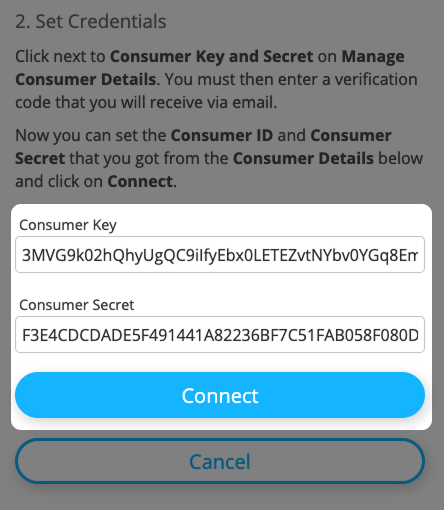
Next, click on the button Connect to save the Integration and test the connection.
If everything worked out fine, you will get a success message at the top of the page. If there was a problem, please double-check that you pasted the correct Consumer Key and Secret into the fields.
Congratulations, you just configured a Salesforce integration workflow!
Please be aware that for every combination of Trigger and Use Case you must create a separate integration workflow.
Test your Integration
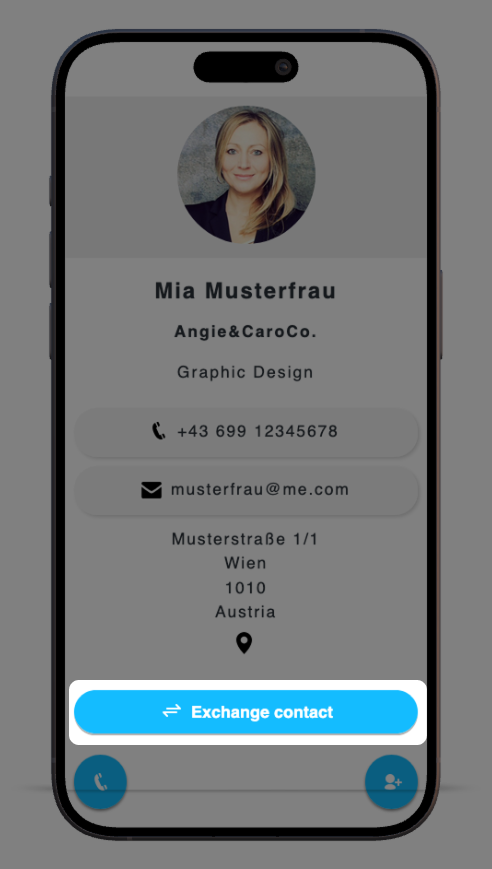
To know if the integration is working do the following test: Open a Digital Business Card and click on the button Exchange contact.
Then fill out the form and click on the button Send Business Card.
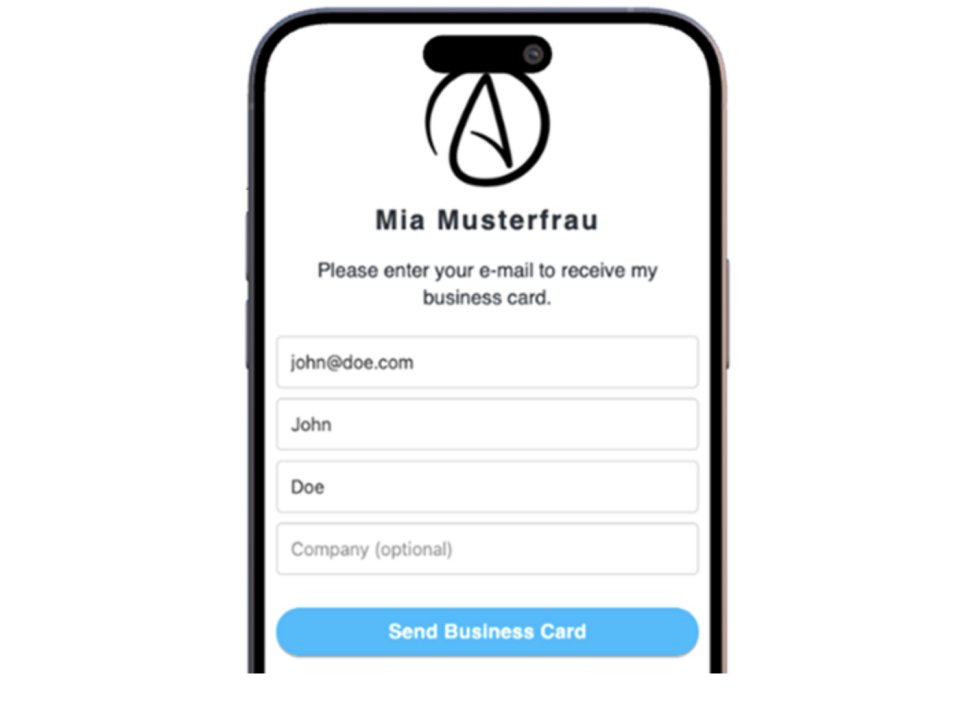
Now the magic happens and the contact John Doe is going to appear in Salesforce a few seconds later.
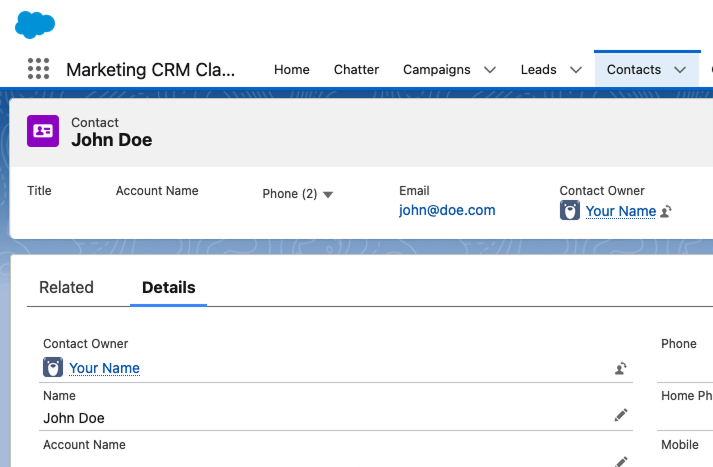
Congratulations, you've successfully set up a Salesforce integration that works!