Setting permissions for White Label Users
The Permissions Tab within a user menu allows administrators to configure each user within their instance individually as needed.
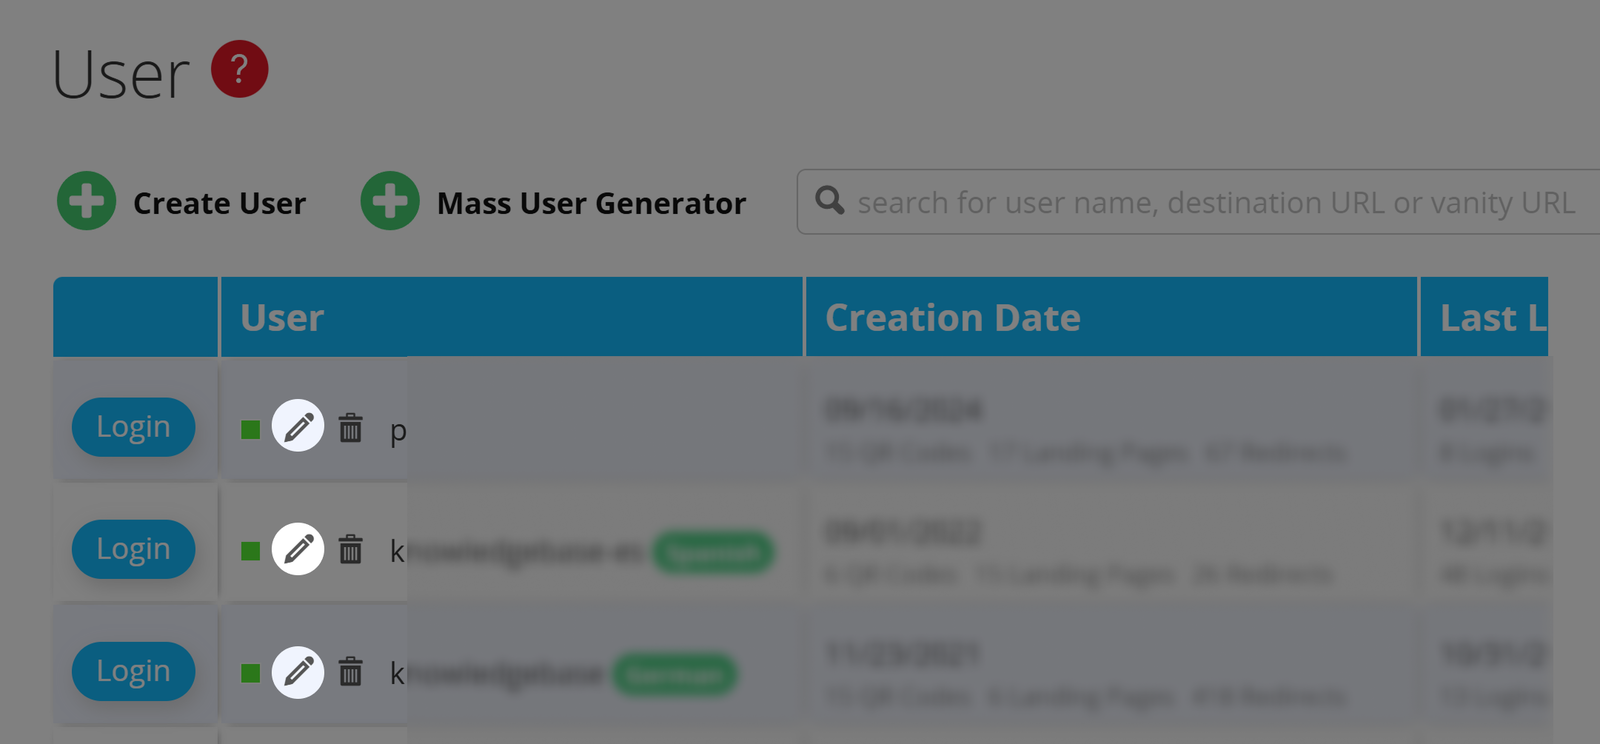
Accessing and editing user permissions as an Administrator
When in the User Overview of your White Label account, please click the pencil symbol next to the user you aim to edit.
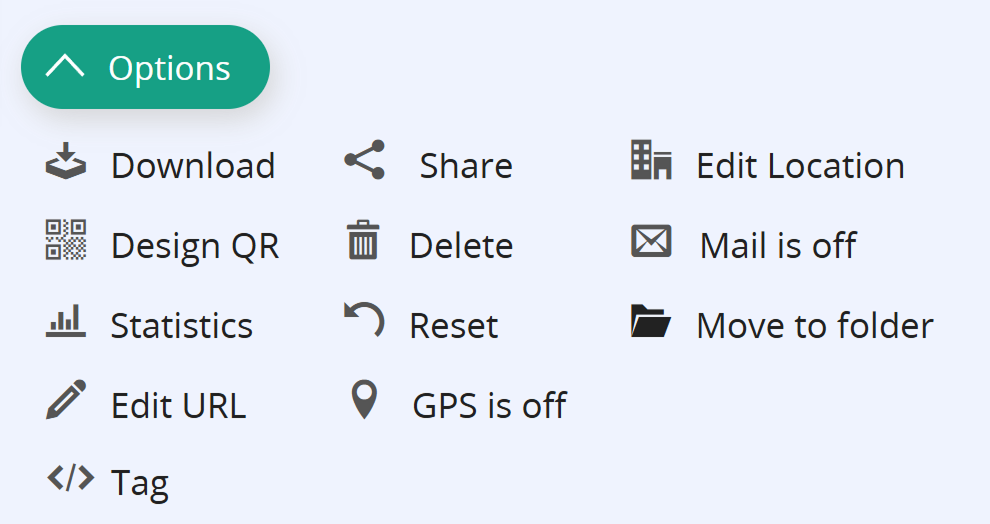
White Label User Permissions
Once in the User Menu, scroll down to the Permissions Tab. Here, you will find a wide range of permissions you can set for the user in question.
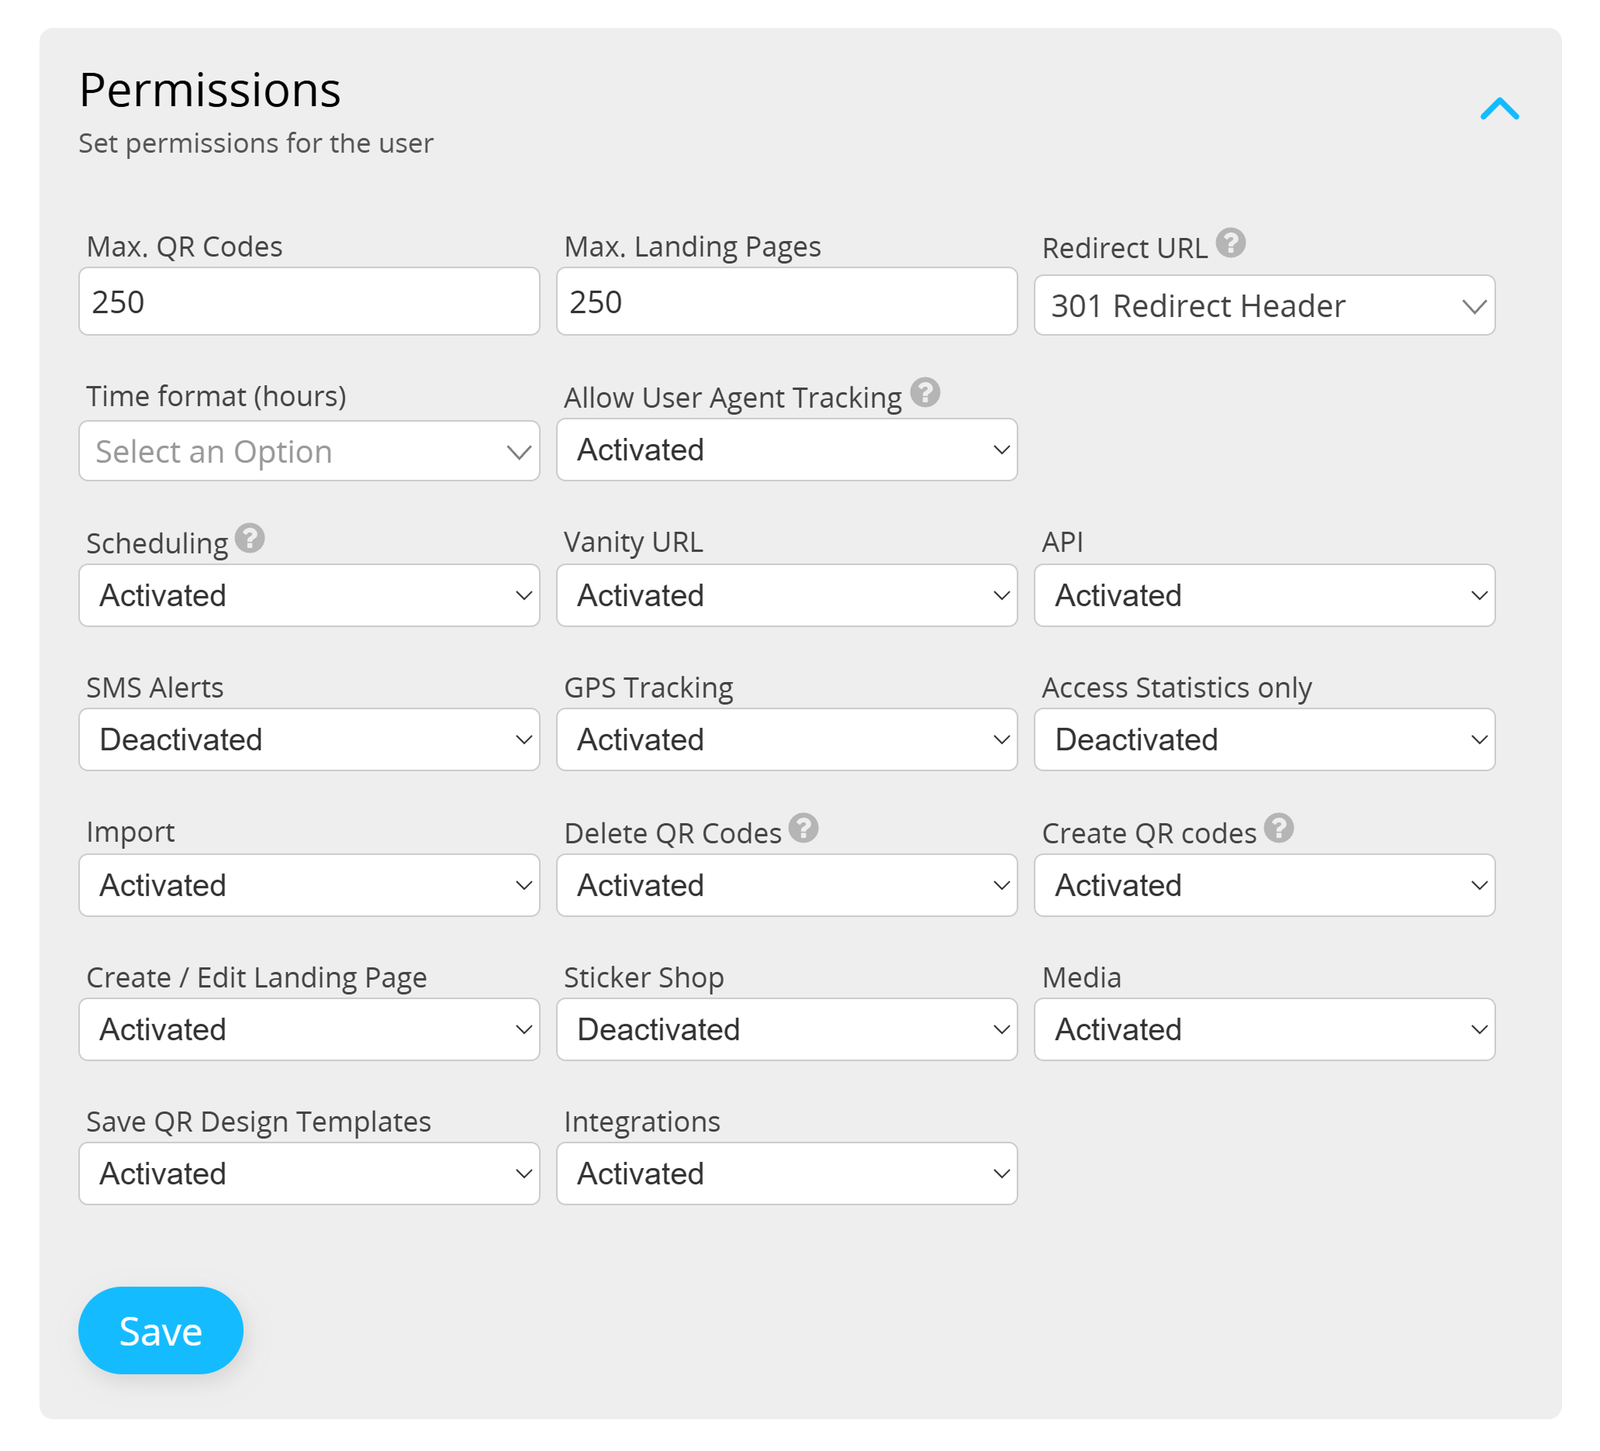
Let's go through all the different types of permissions and what each setting does.
Permissions and restrictions are only applied when the account is accessed with the user credentials. They do not apply to admins who log into a user account via the User Overview.
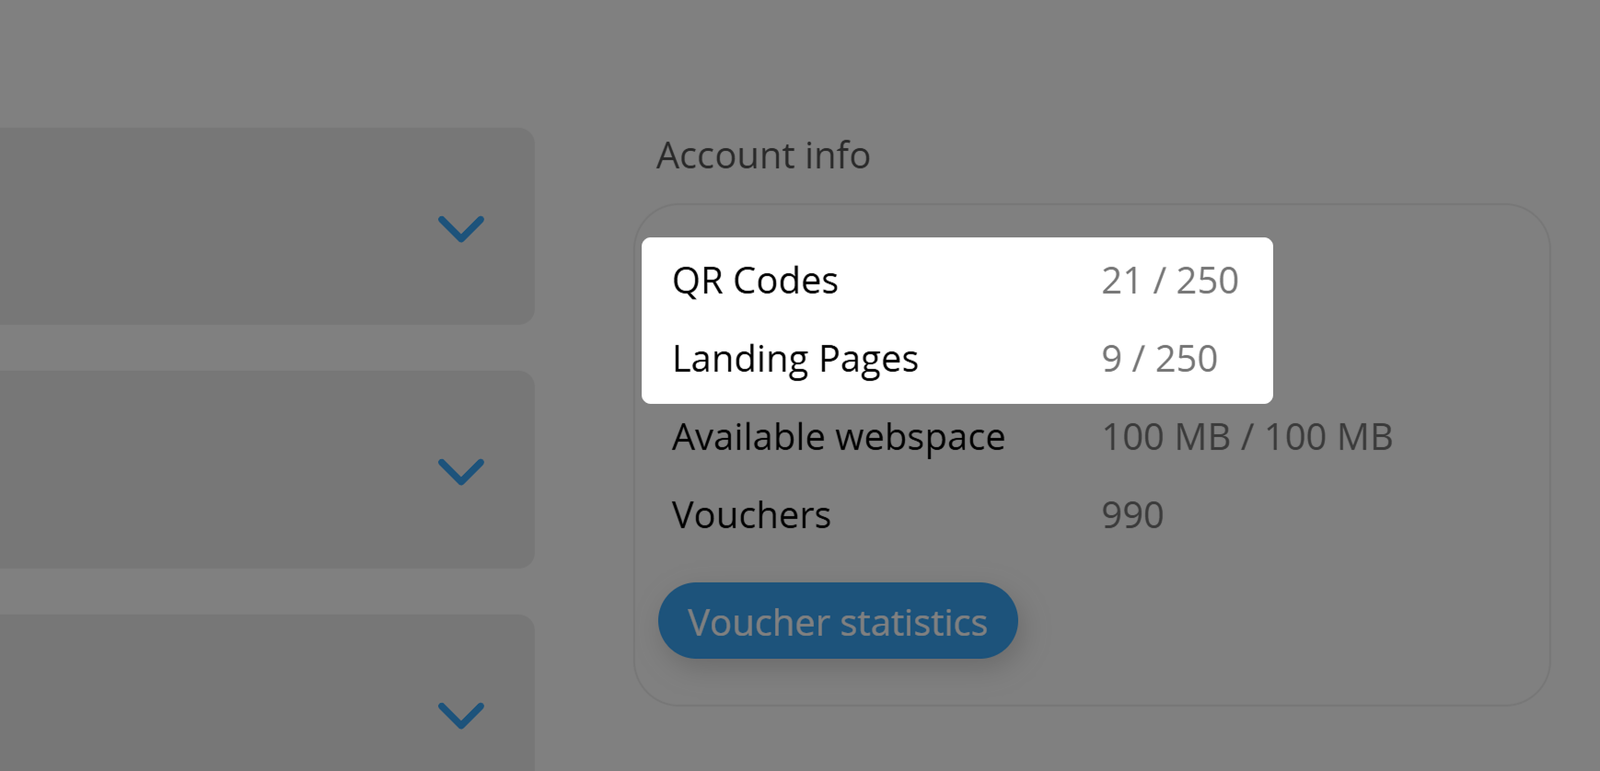
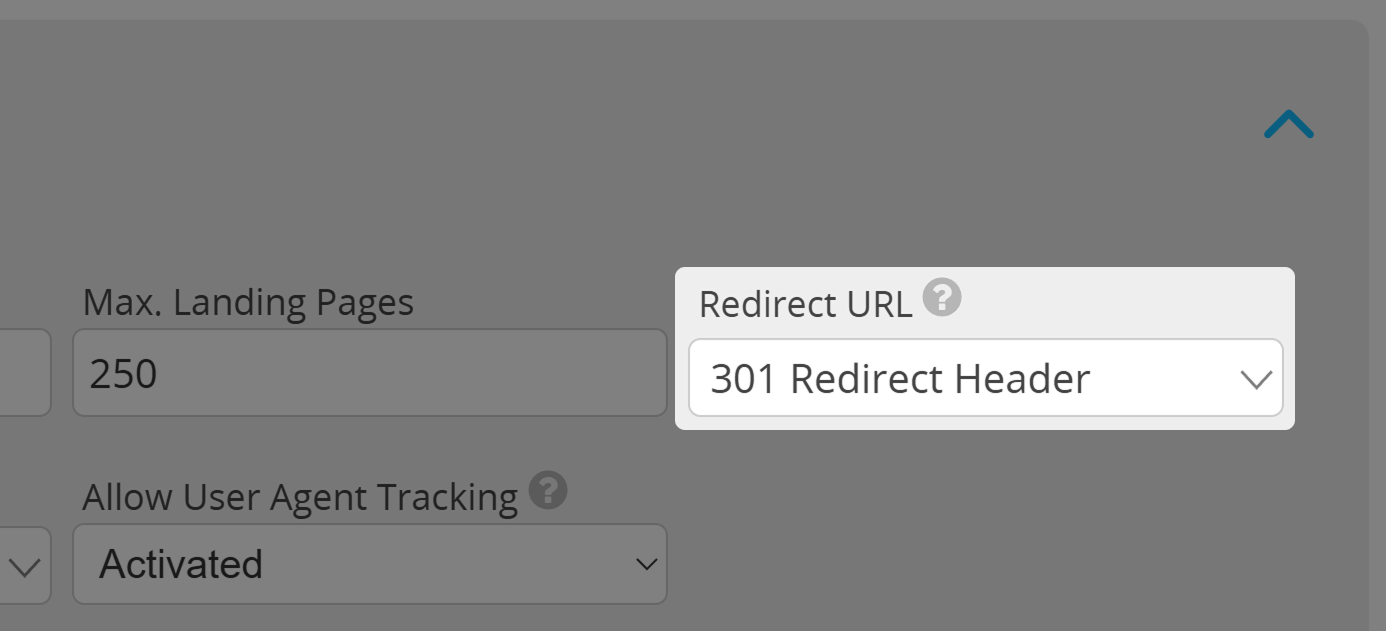
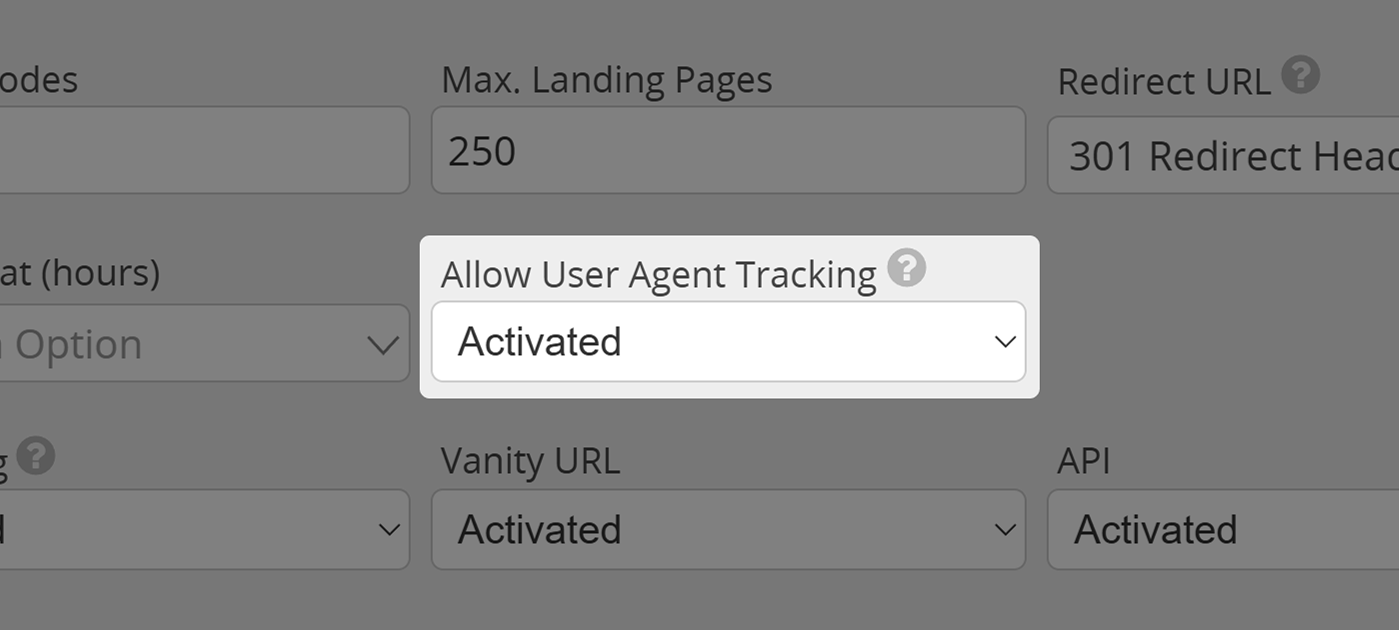
Maximum number of QR Codes/Landing Pages
First, you can set the maximum number of QR Codes and Landing Pages this
user may manage simultaneously. Please keep in mind that this number is usually capped at 250 per user.
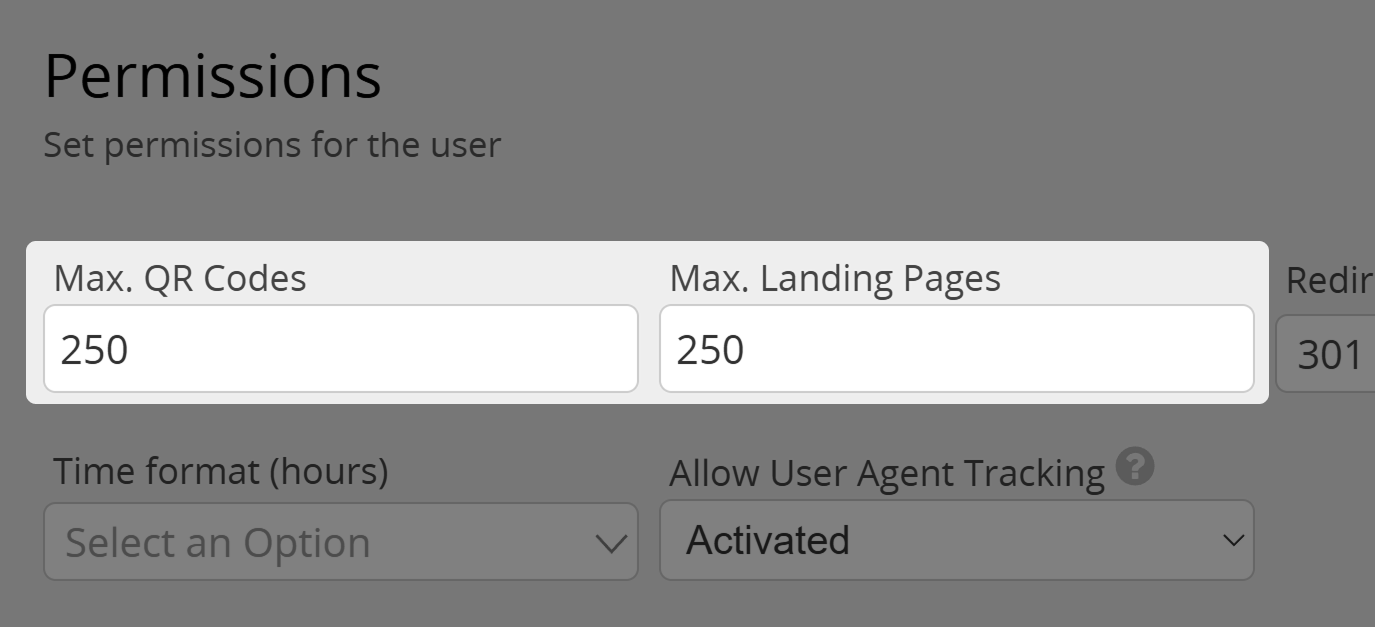
Redirect URL
Here you can choose how the user will be redirected to your Target URLs. For more information, please read our article on redirection.
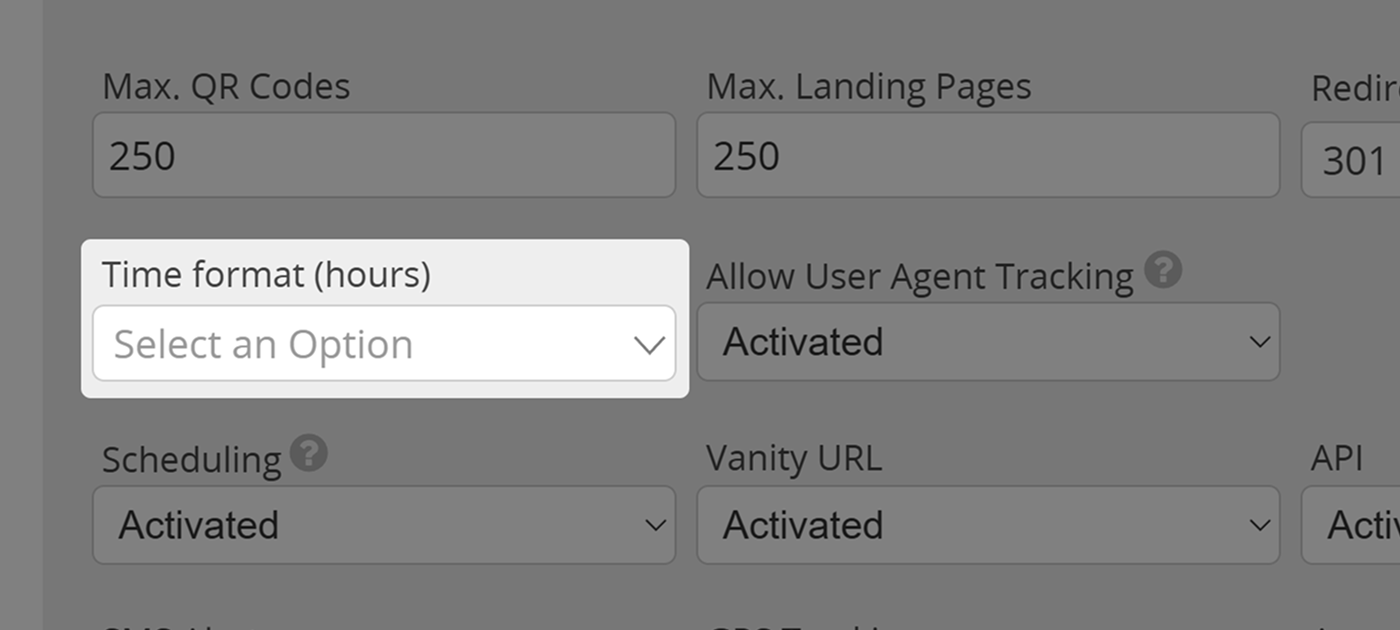
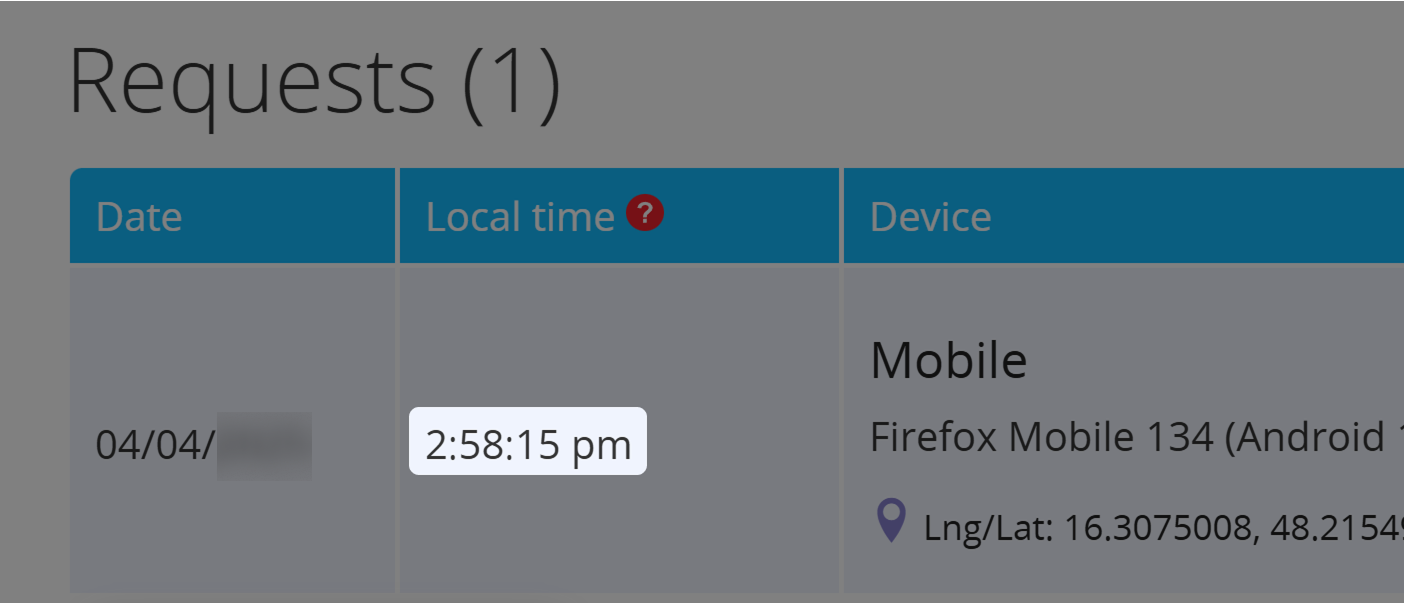
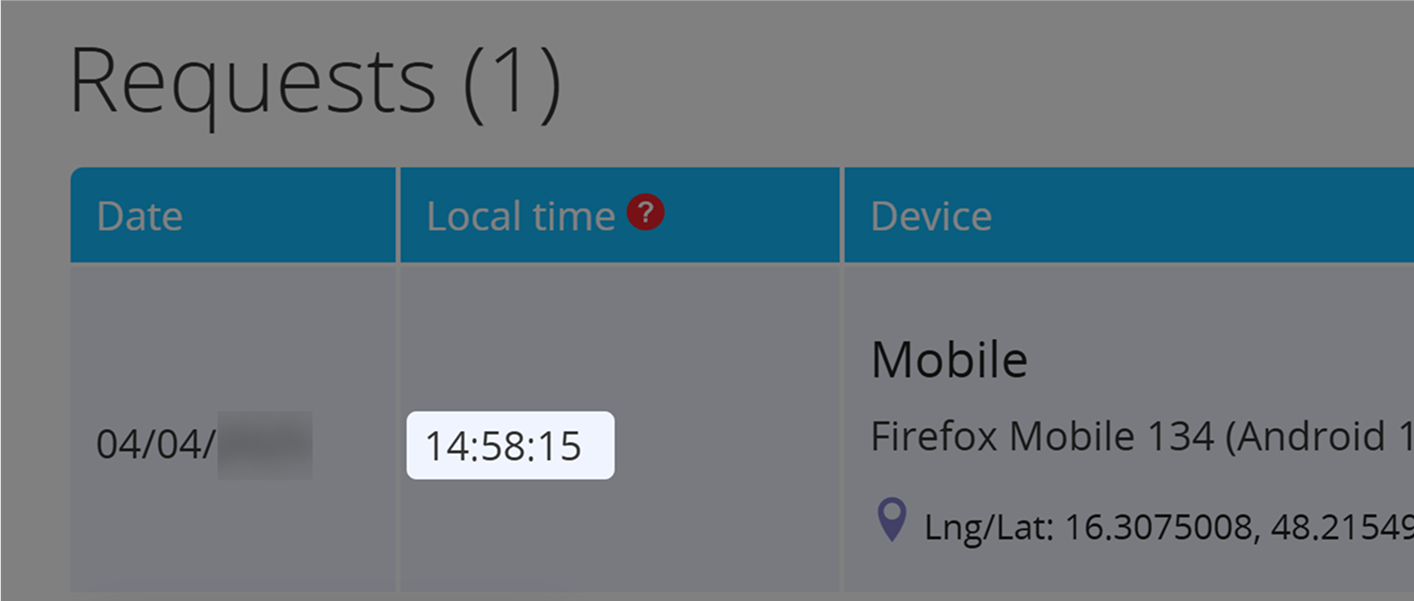
Time Format
Use this setting to choose between 12- and 24-hour time format within the user account.
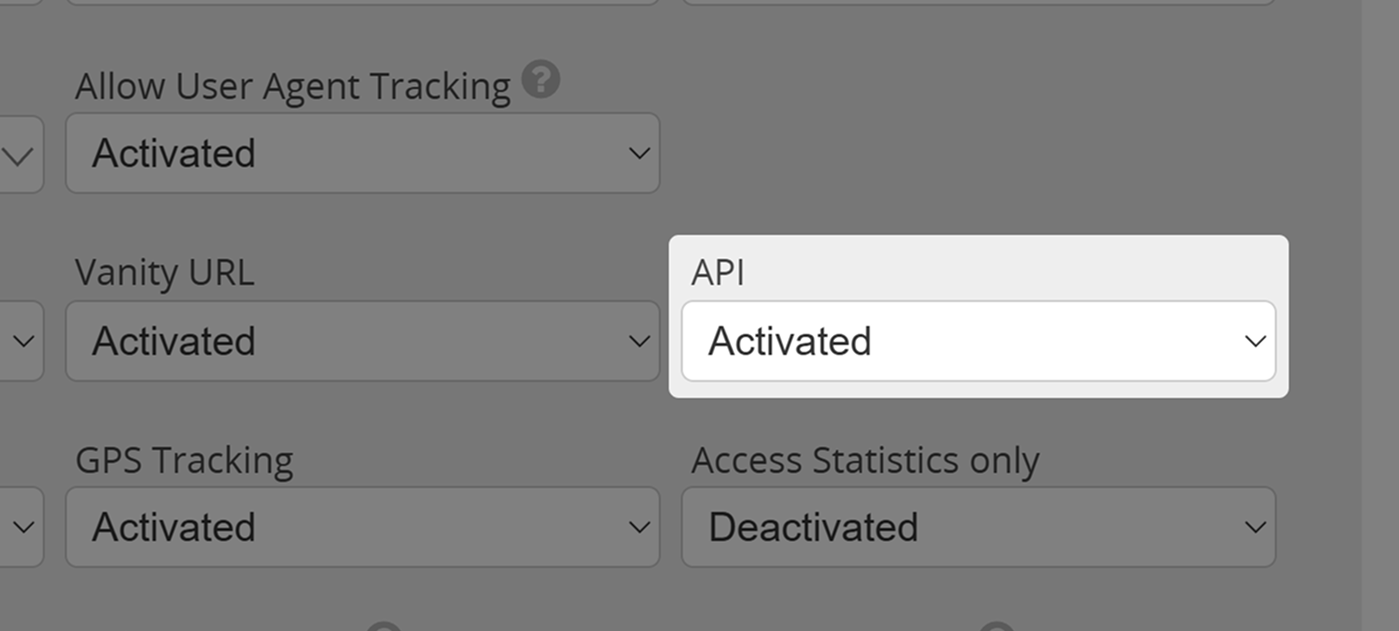
Allow User Agent Tracking
Limit a user's access to basic statistics of QR Code scans, or prohibit them from tracking their users. This might be necessary in order to adhere to local data protection regulations. For more information, please read our article on disabling QR Code tracking.
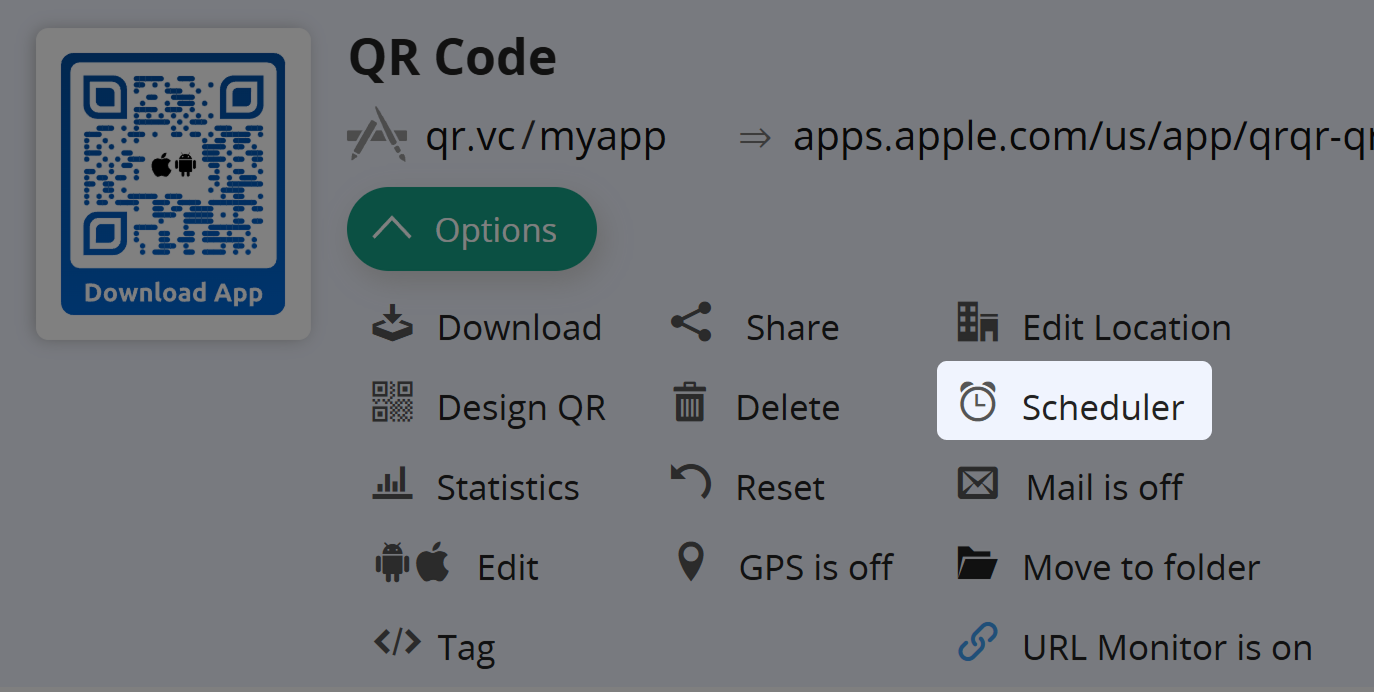
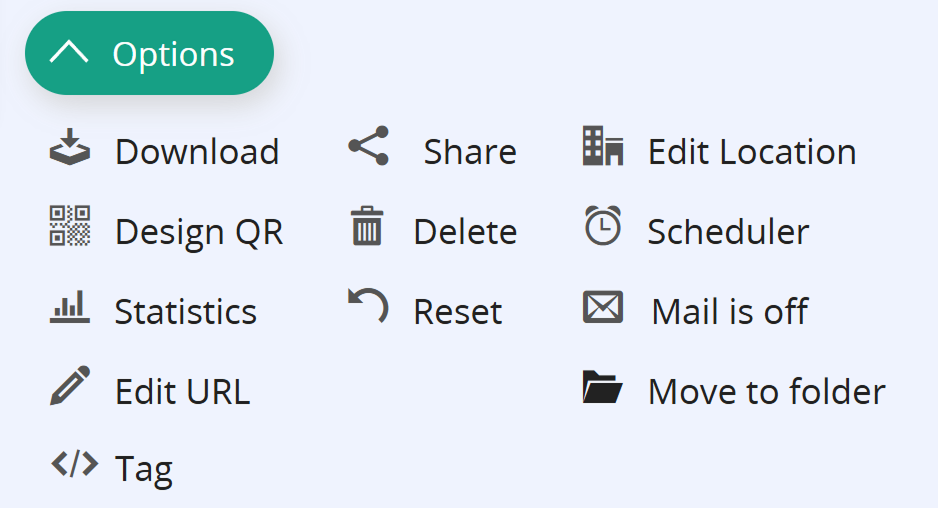
Scheduling
The scheduling function allows users to define specific times during which a QR Code redirects to a certain landing page after being scanned. For more information, please visit our article on scheduled redirects.
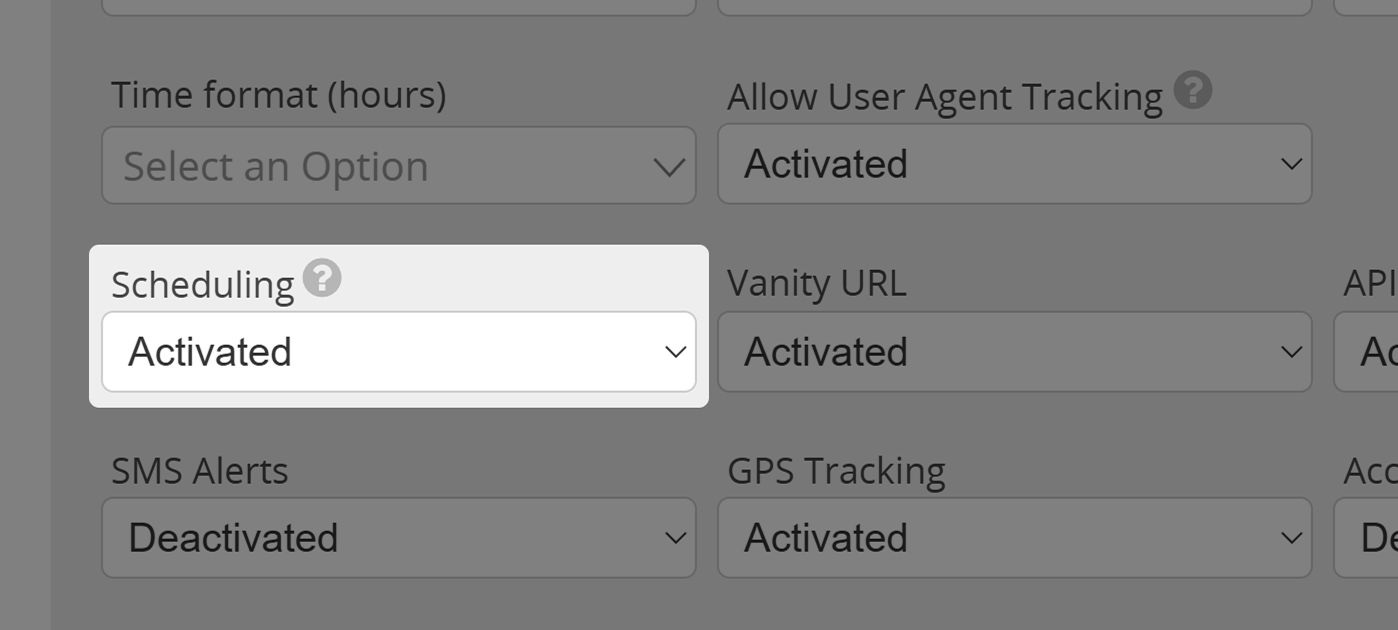
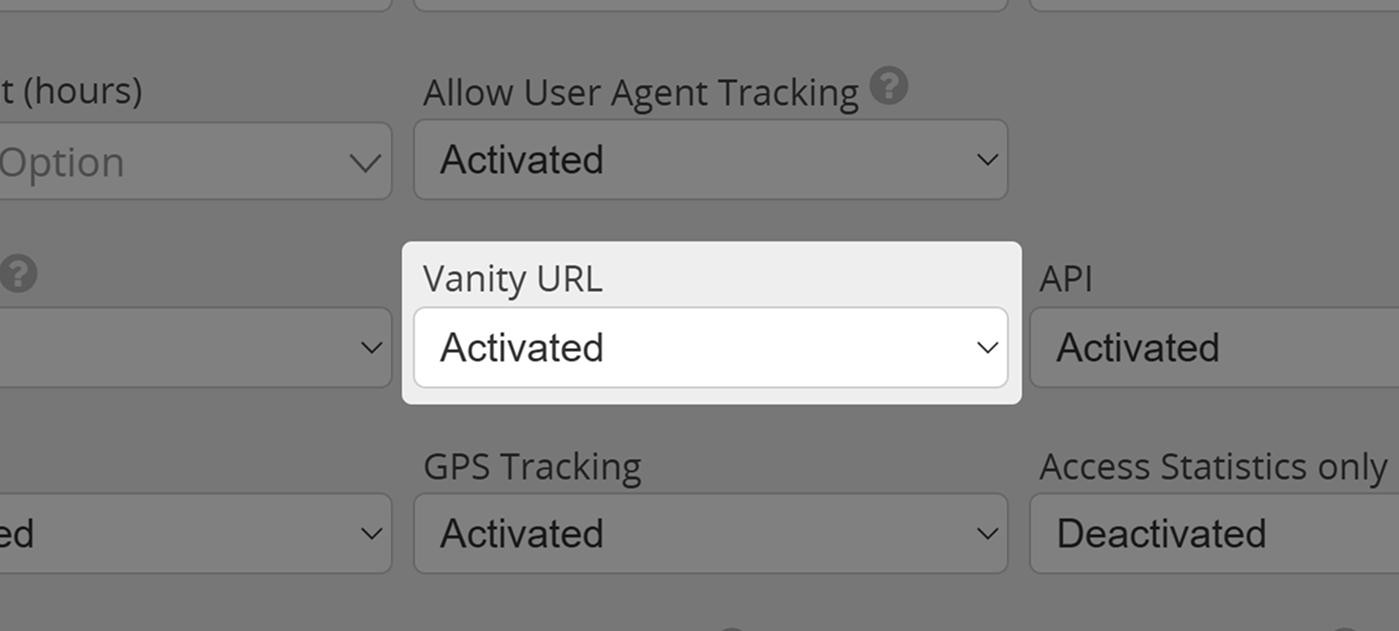
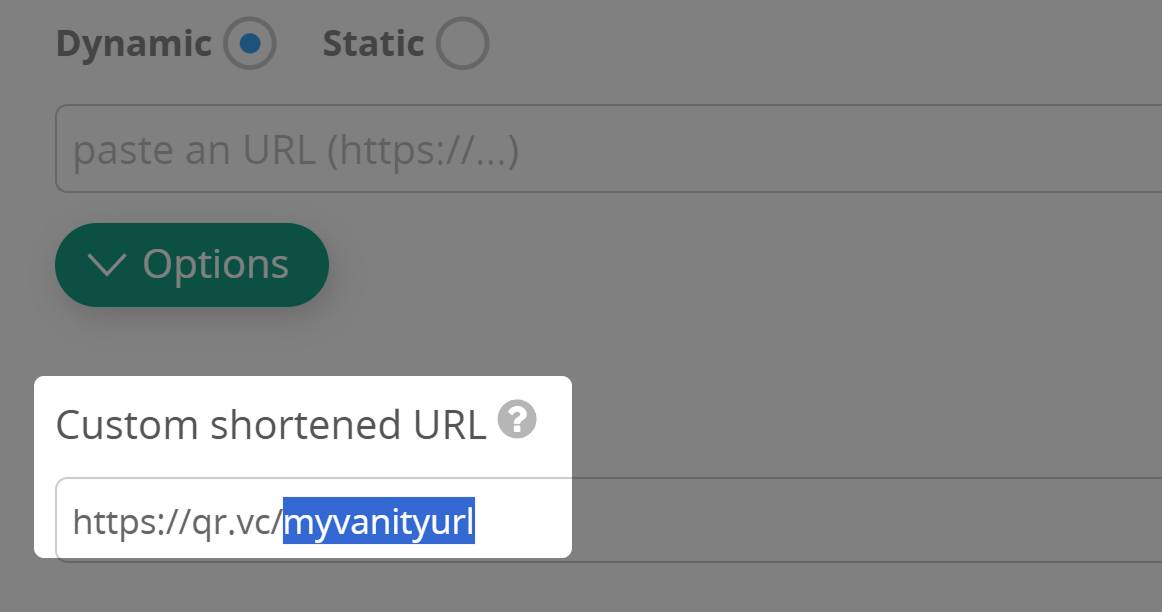
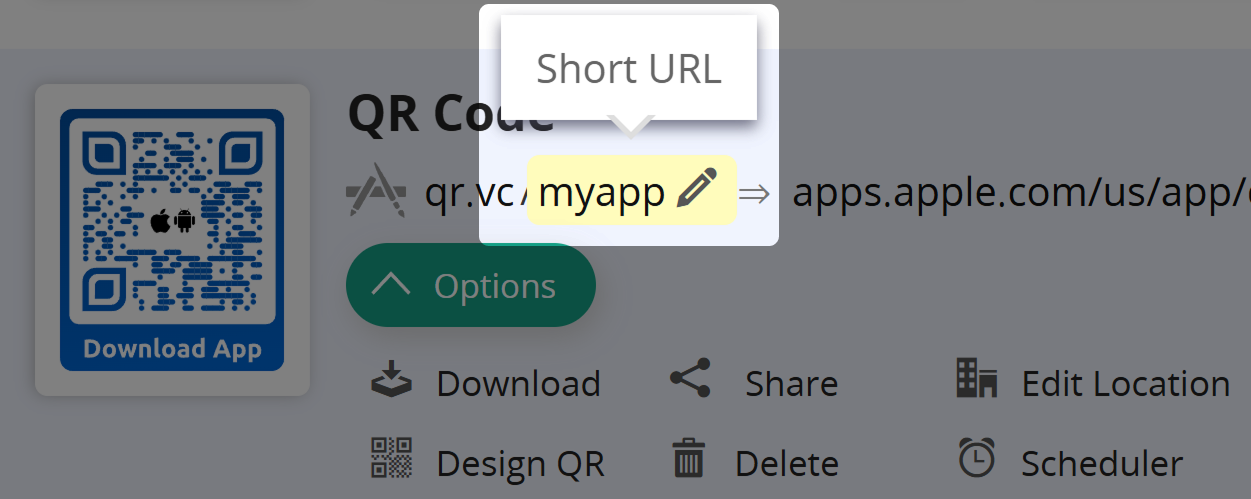
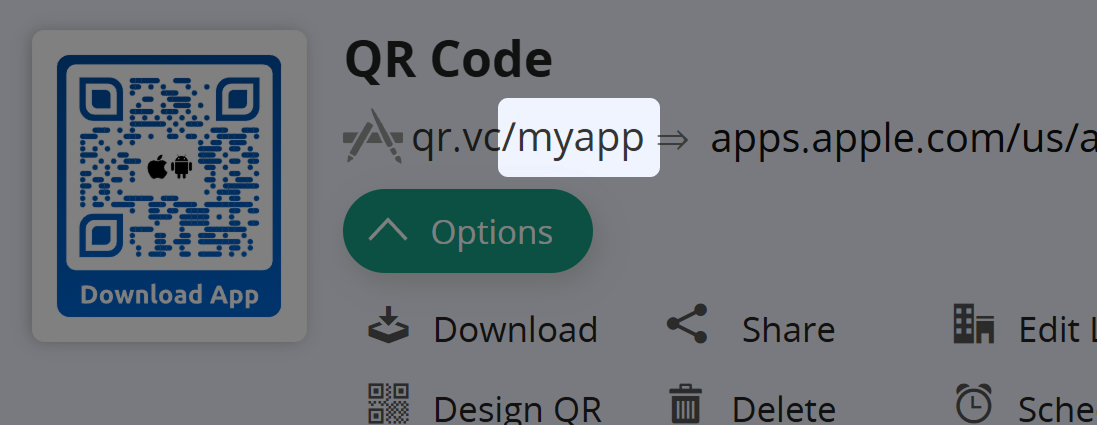
Vanity URL
Determine if the user can change their QR Codes' Vanity URLs.
API
Deactivate this option, and the user will no longer see the API button - hindering them from accessing their Secret API-key as well as the documentation. The user will thus not be able to use API-calls towards their account.
SMS Alerts
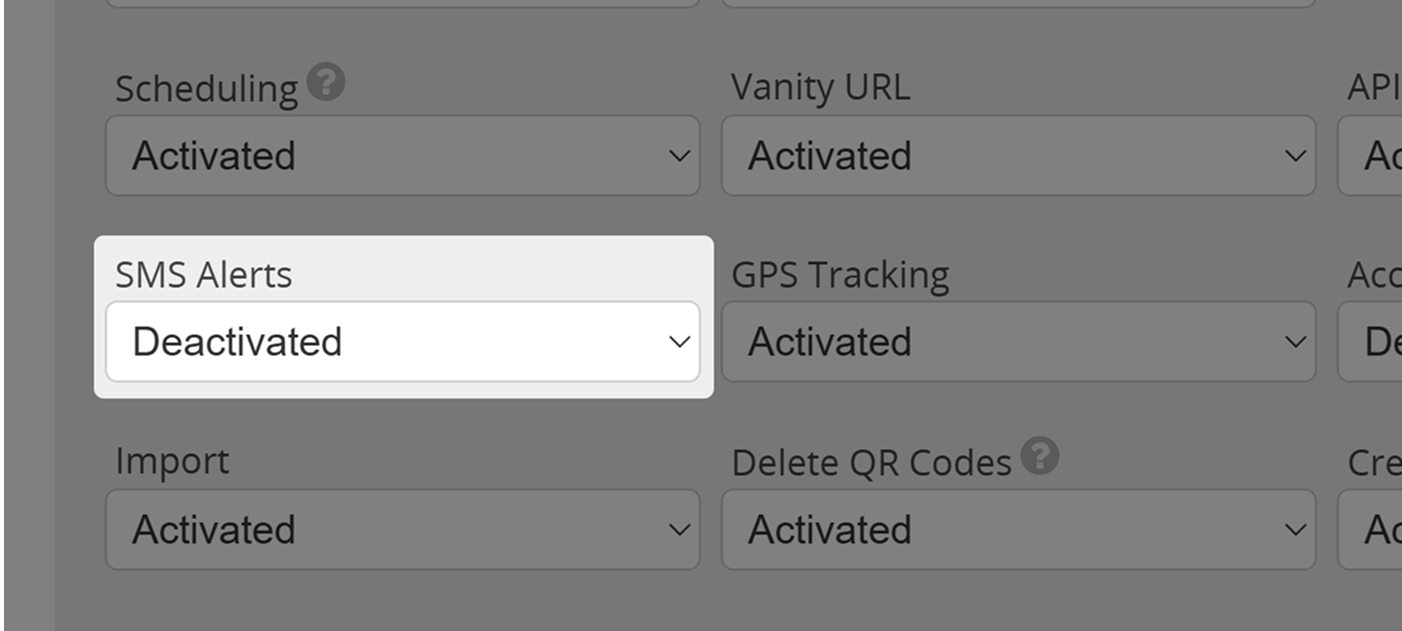
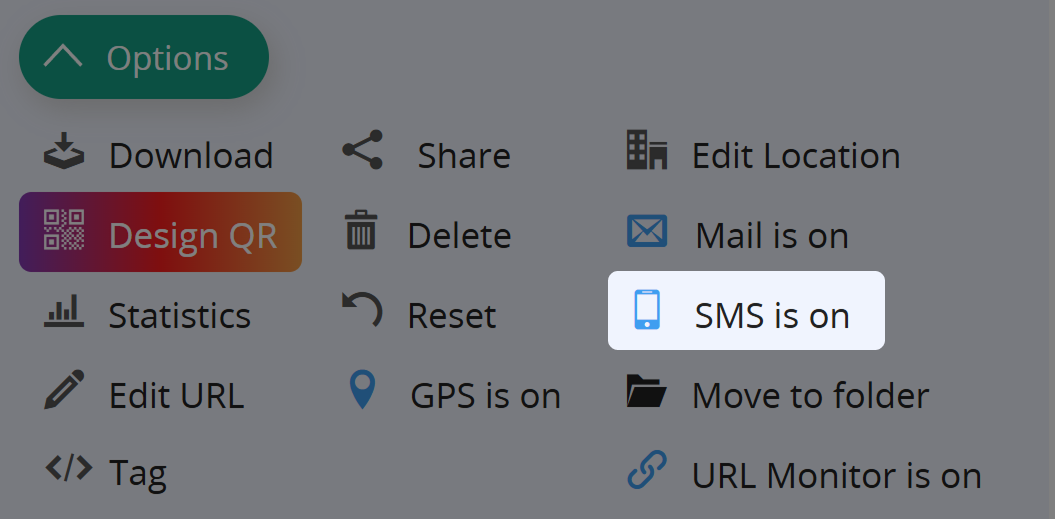
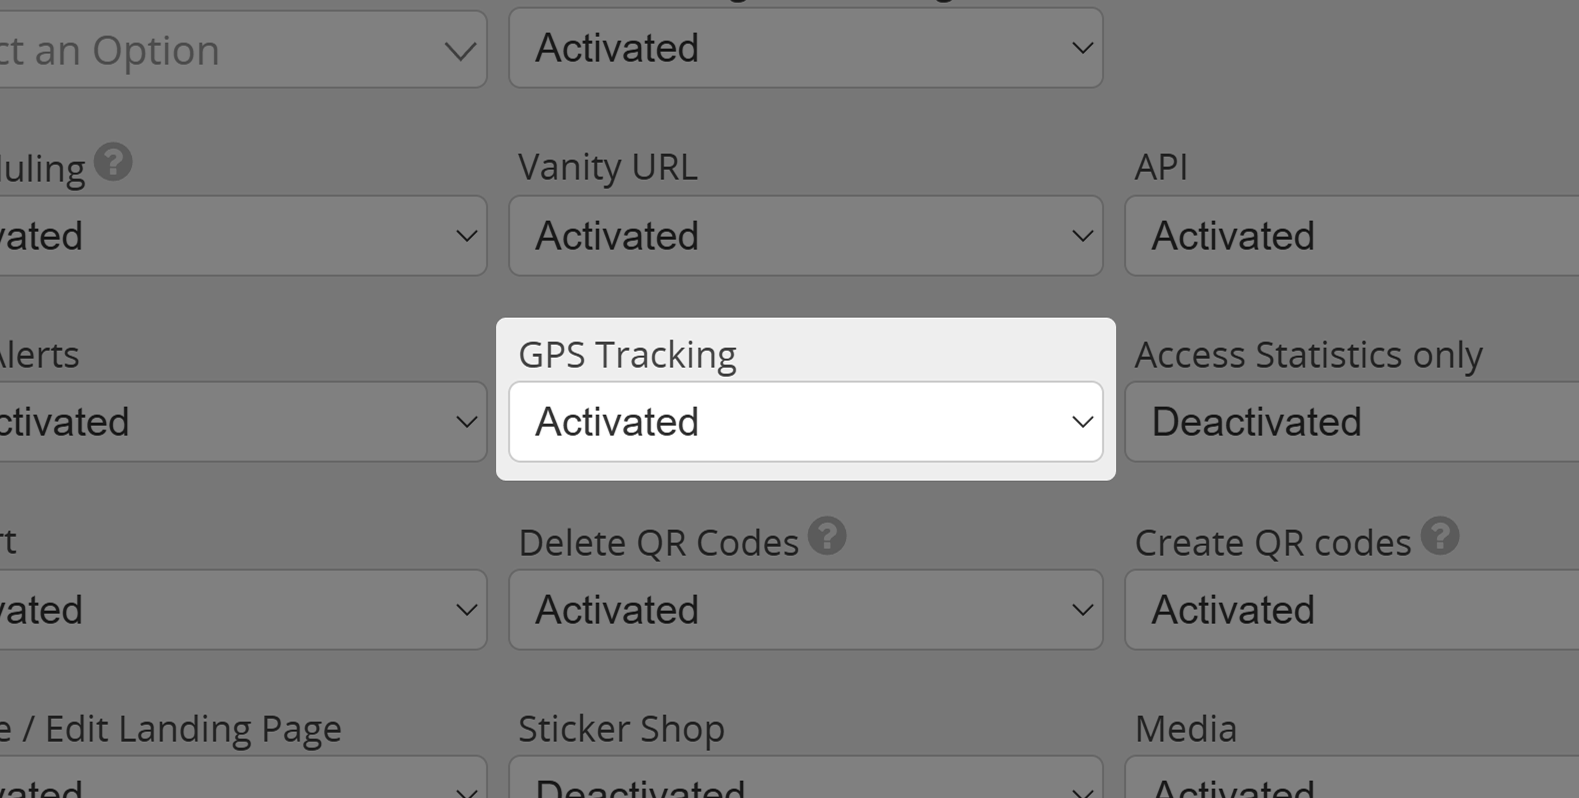
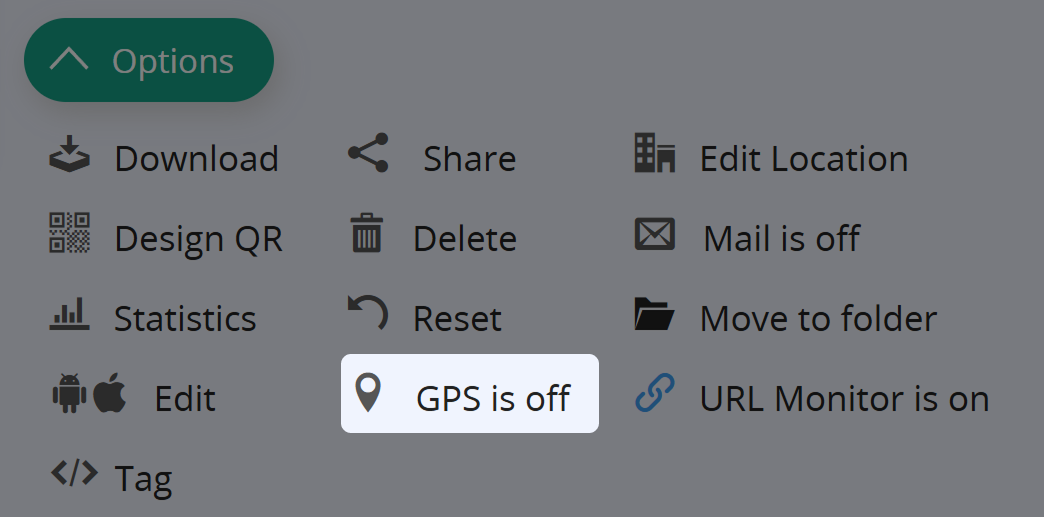
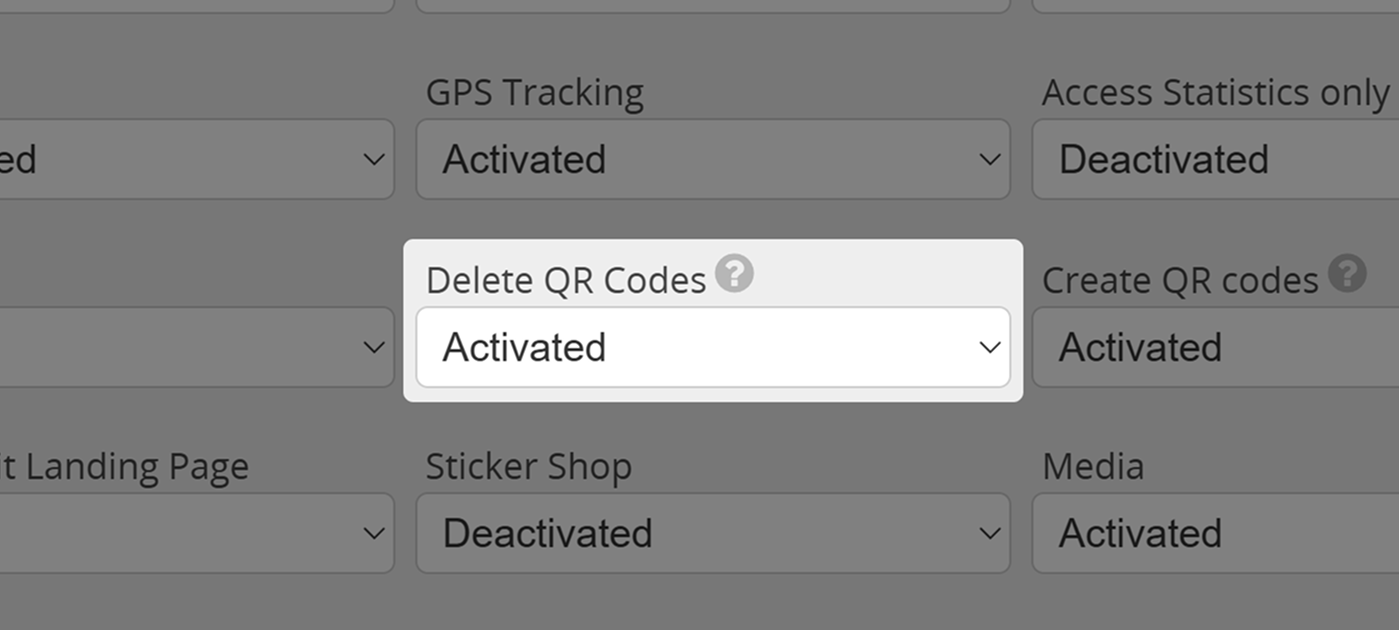
GPS Tracking
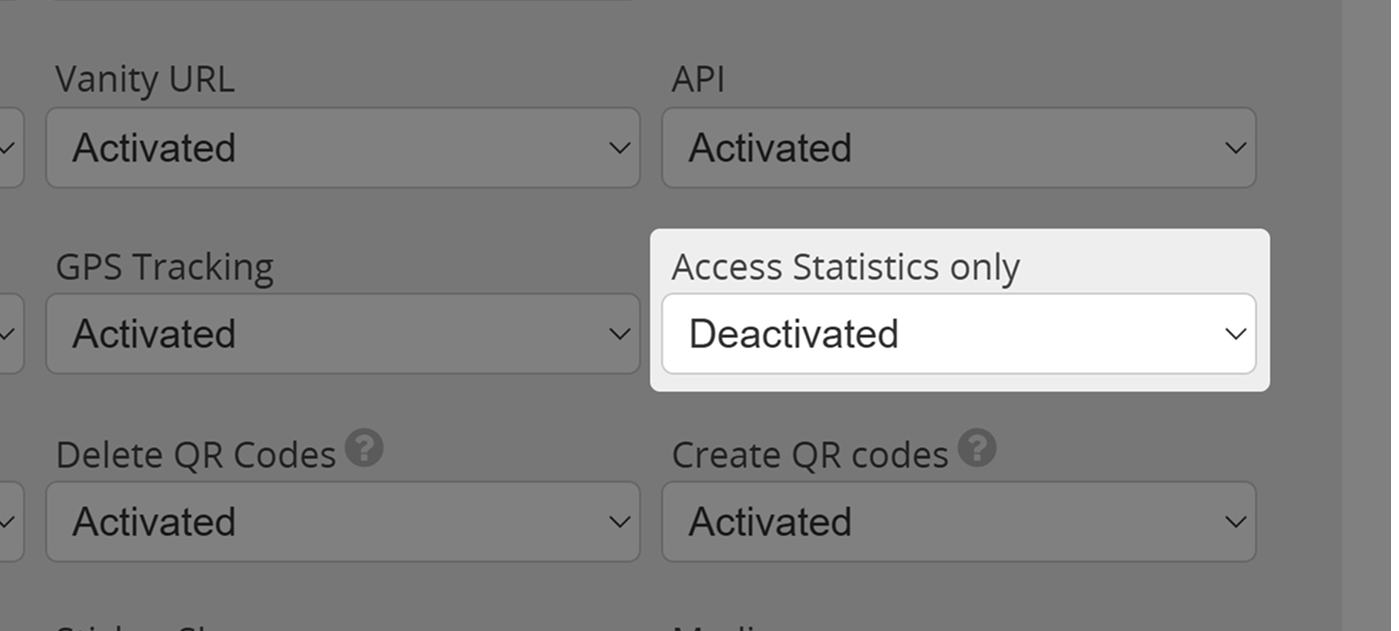
Access Statistics only
If you want a user to only be able to access their account's statistics, activate this option for them.
Please be aware that activating Access Statistics Only will keep the user from generating or editing QR Codes and Landing Pages within their account!
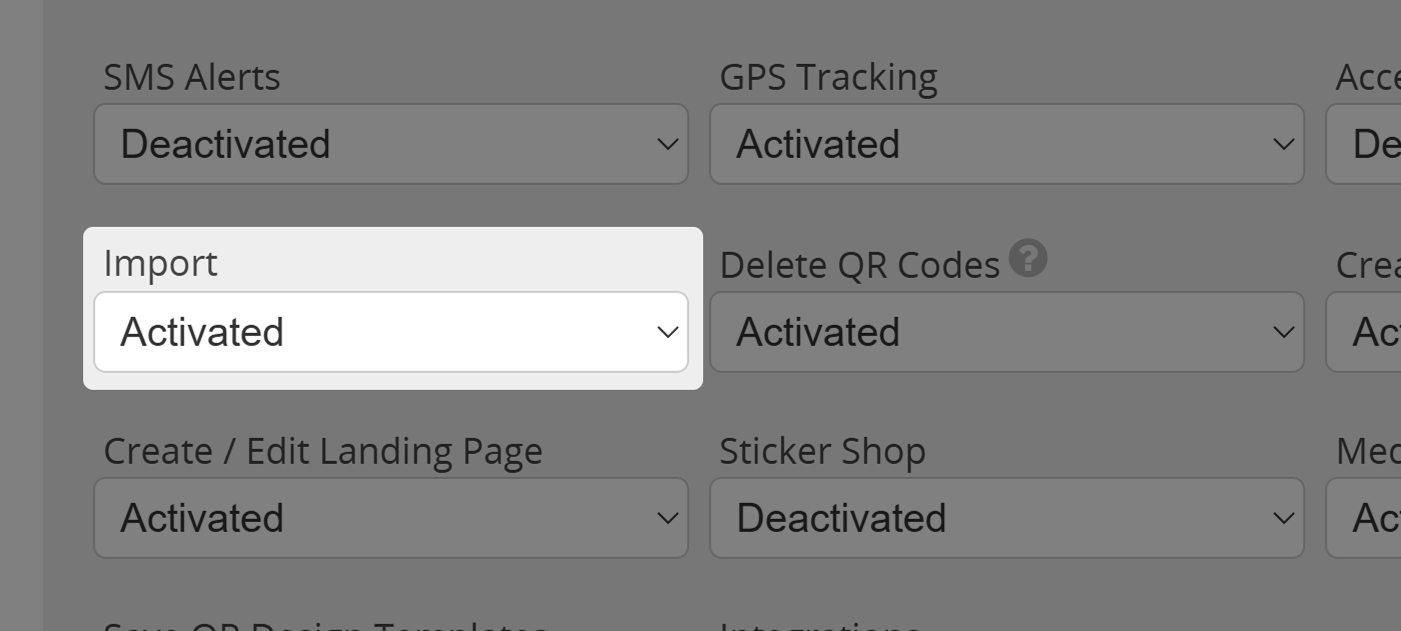
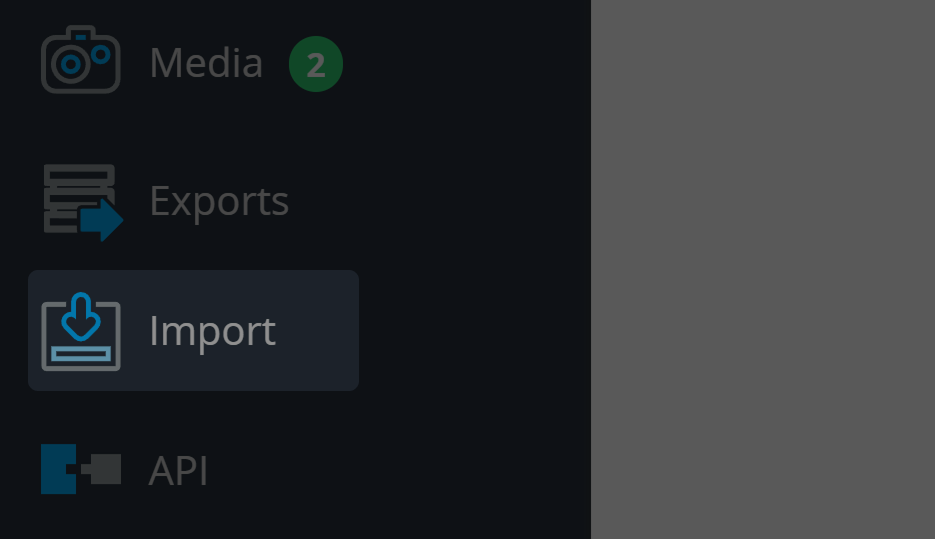
Import
Determine if the Import Page can be accessed by the user, e.g. in case you want to forbid the user from performing any bulk-imports (like the CSV-import).
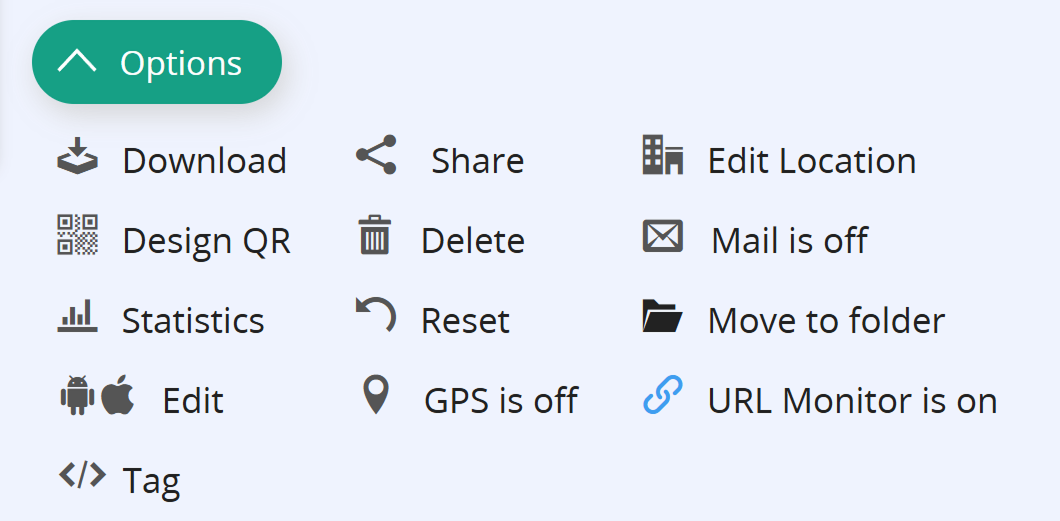
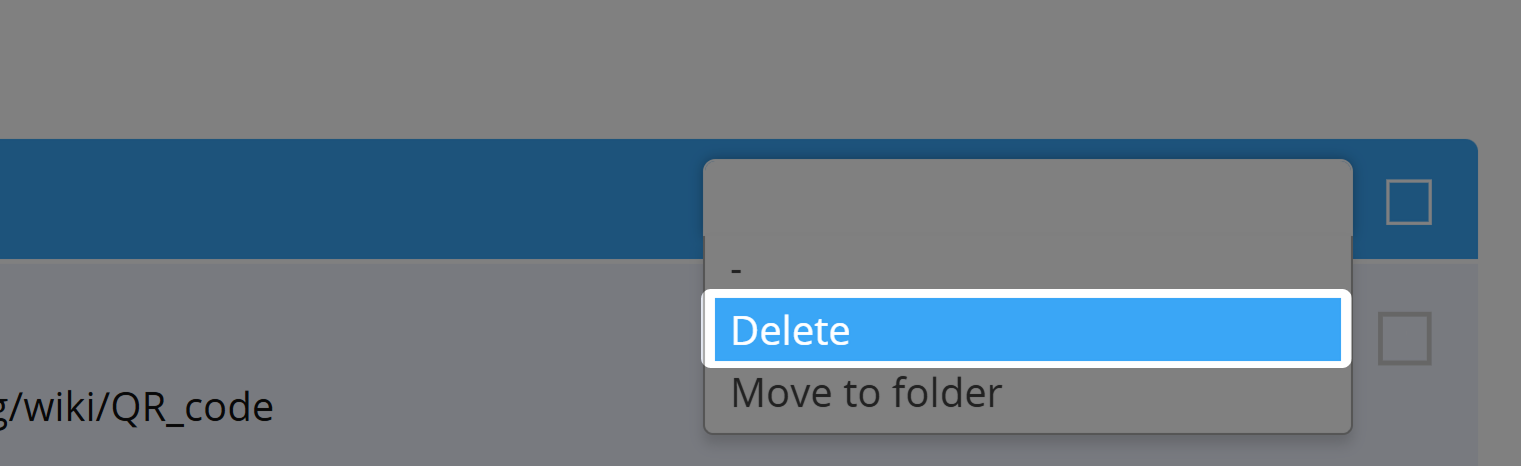
Delete QR Codes
Permit or deny a user to delete QR Codes and Landing Pages from their account.

Create/Edit QR Codes and Landing Pages
These two options determine if this user can create or edit QR Codes and Landing Pages within their account.


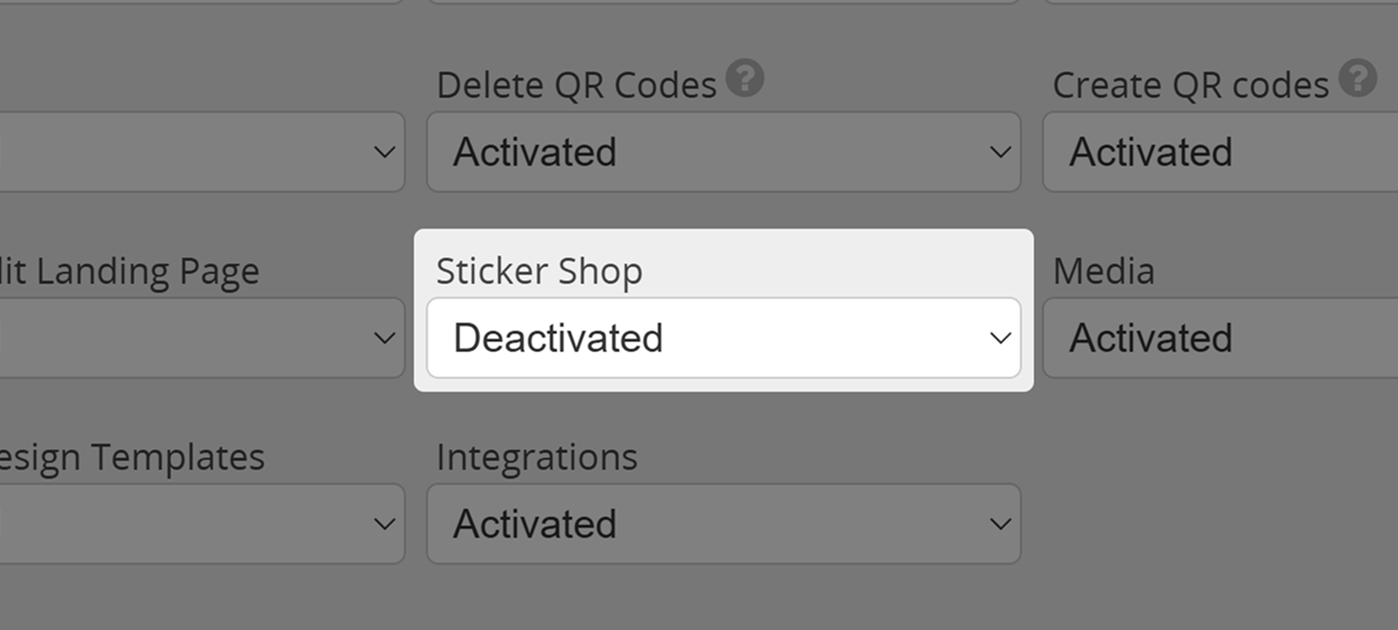
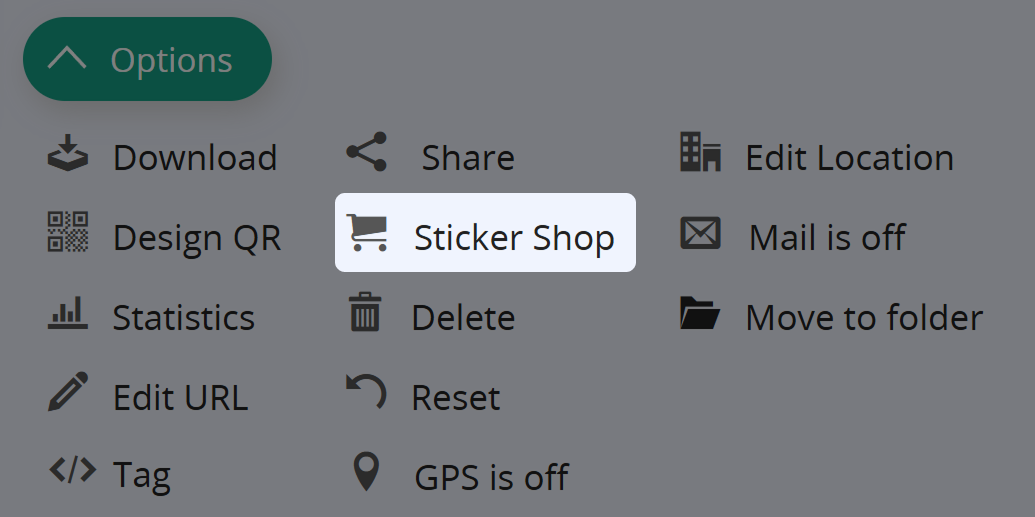
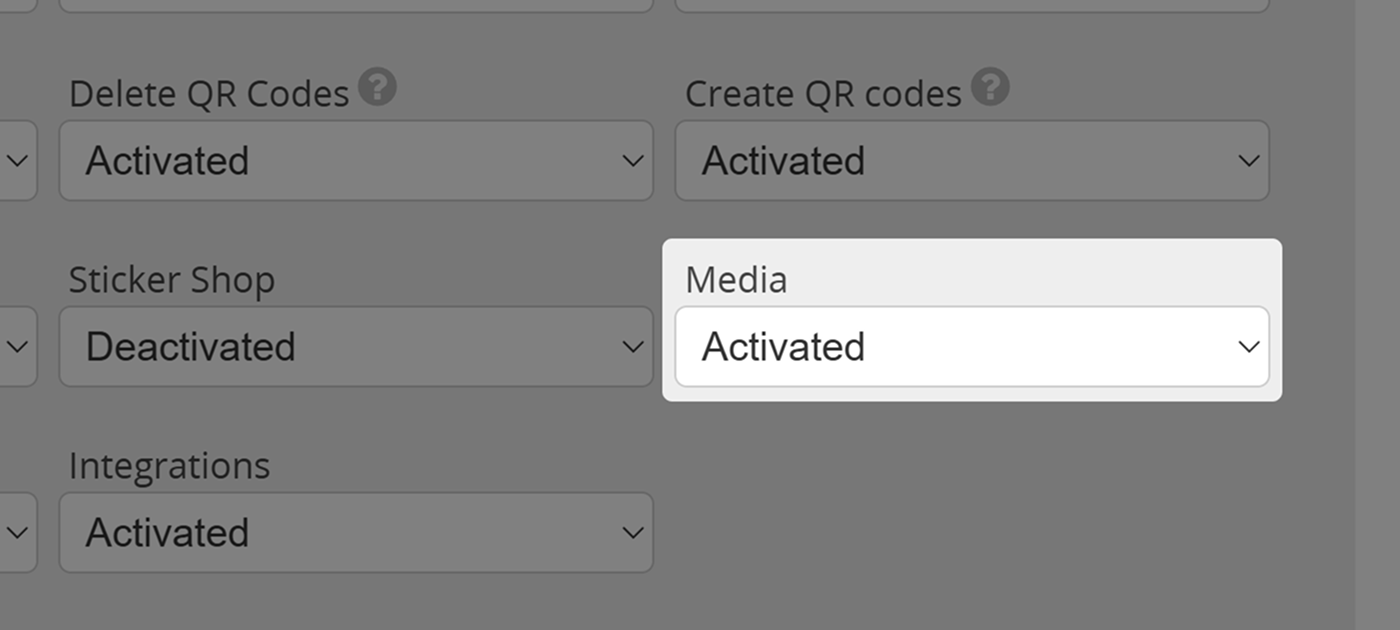
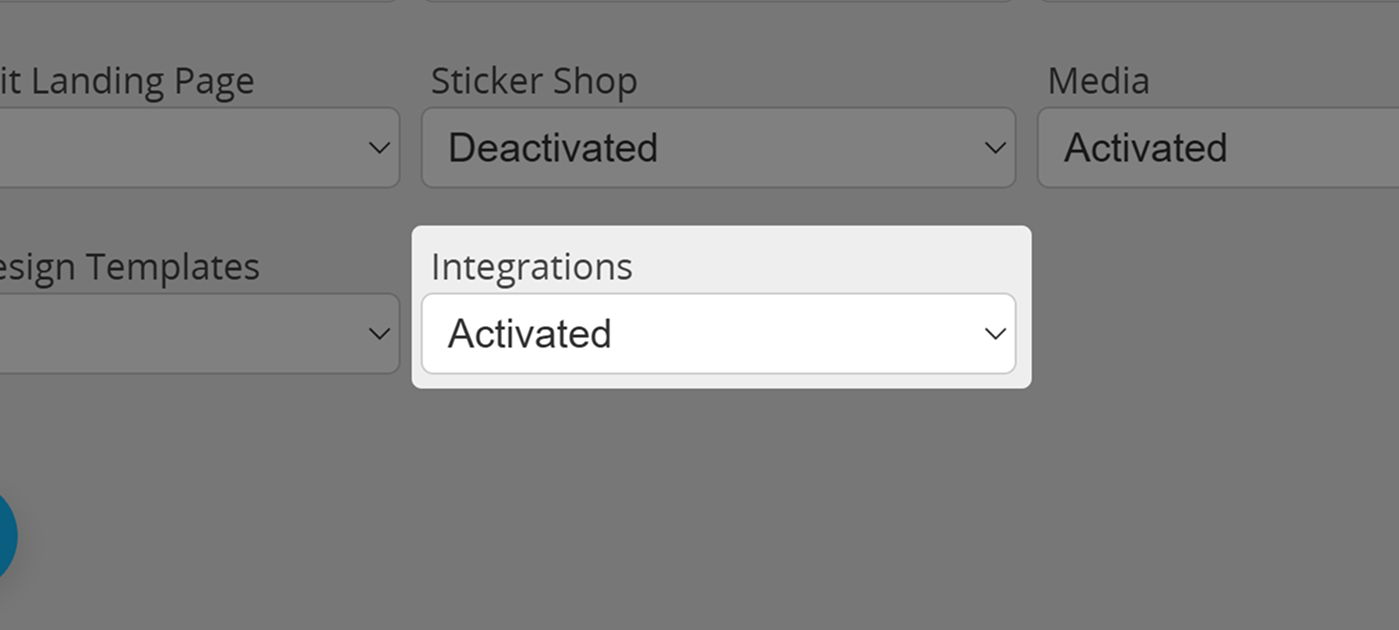
Sticker Shop
Show or hide the Sticker Shop button - when activated, the QR Code can directly be transmitted to zazzle.com (without designs) through the QR Code's Options Tab and be printed there on different media.
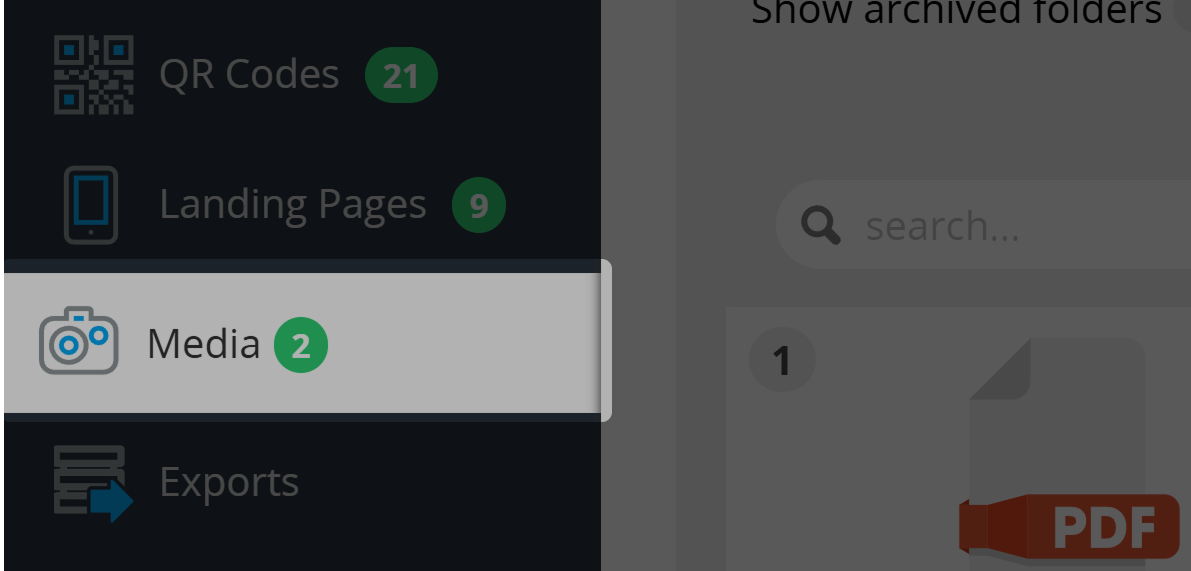
Media
Decide if a a user may access their Media section by controlling this option.
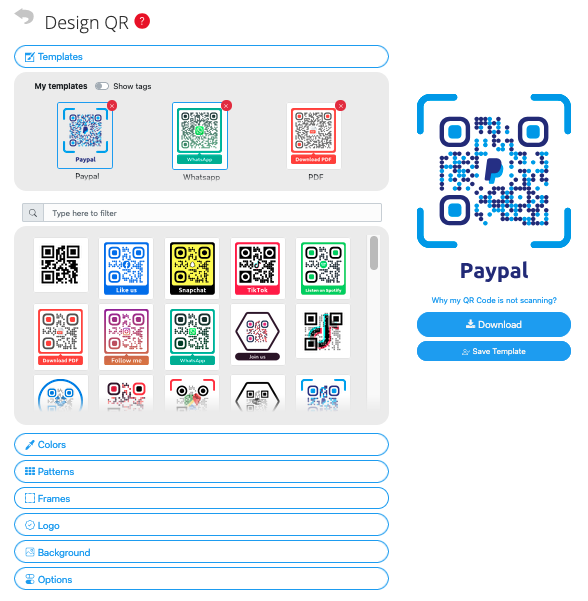
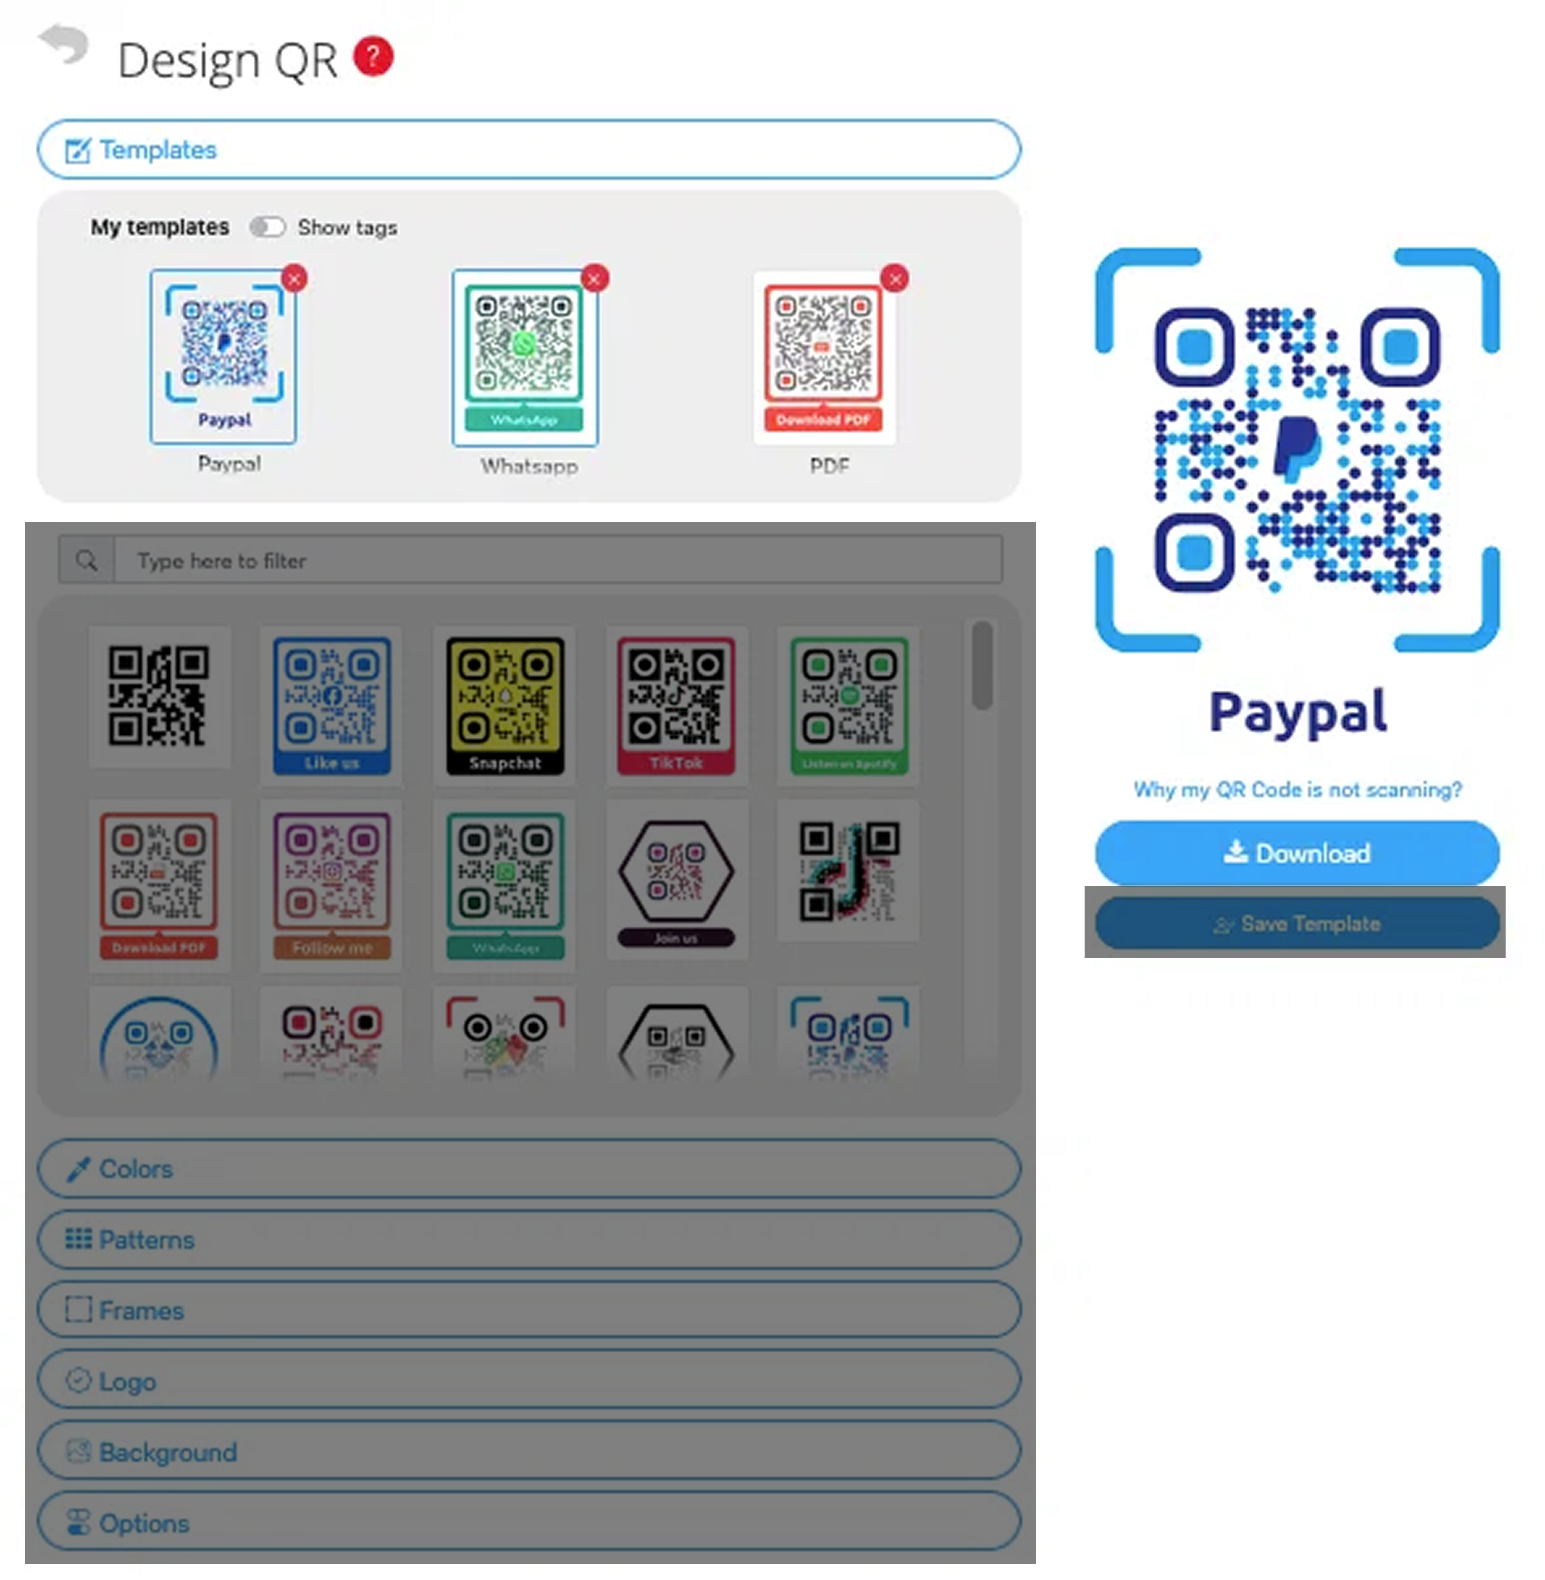
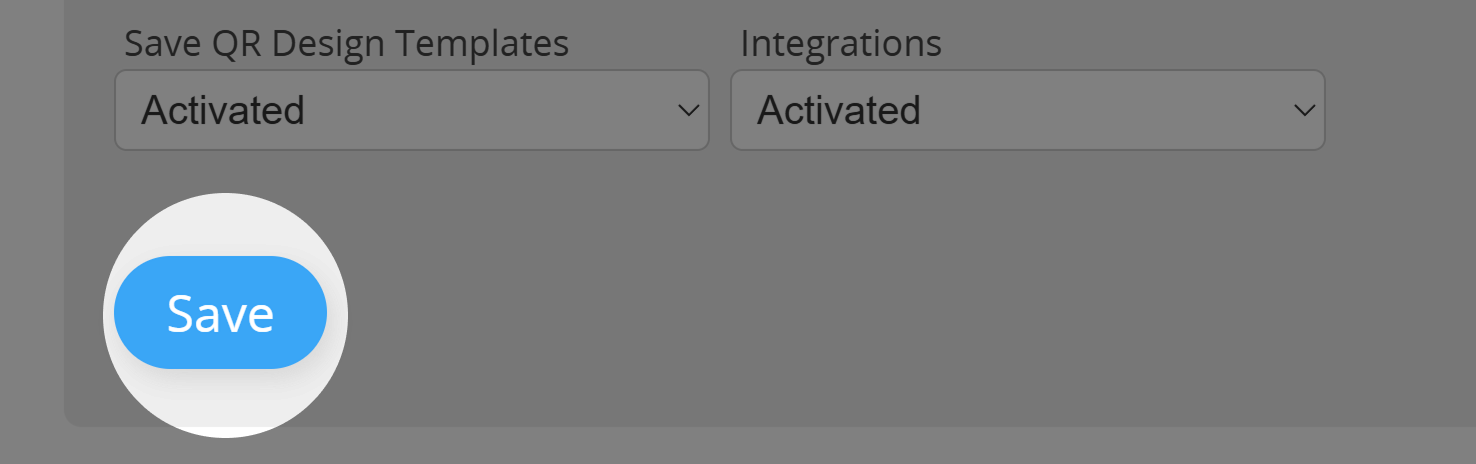
Use QR Code design tool
Determine if a User may create (and save) their own QR Code designs or if they are limited to applying existing design templates, created by you as administrator.
You may also set a default QR design template in the branding section of the user menu.
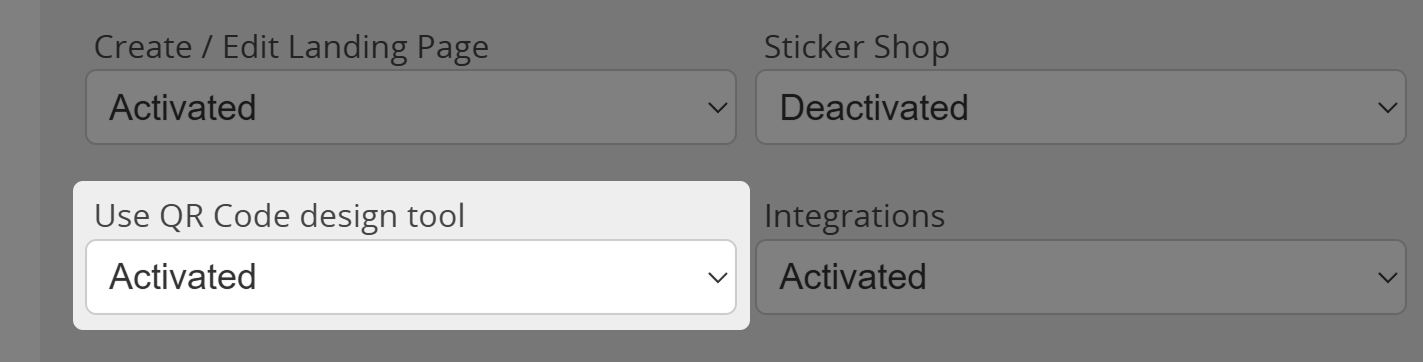
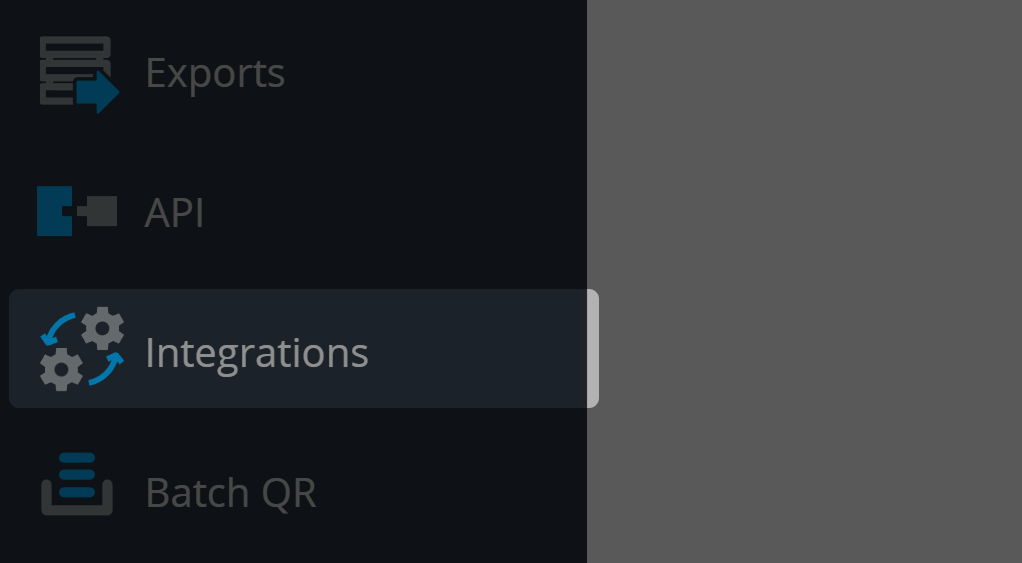
Integrations
If this option gets deactivated by the administrator, a user may no longer access the Integrations page. For more information on integrations, please visit the respective article in our Knowledge Base (currently for HubSpot, MailChimp and Salesforce).
Remember to save!
After setting everything up as desired, the administrator must finally hit Save, located at the end of the Permissions Tab.
Administrators also have the option to show/hide
elements and add functionality on their instance via Java Script and CSS injection.